
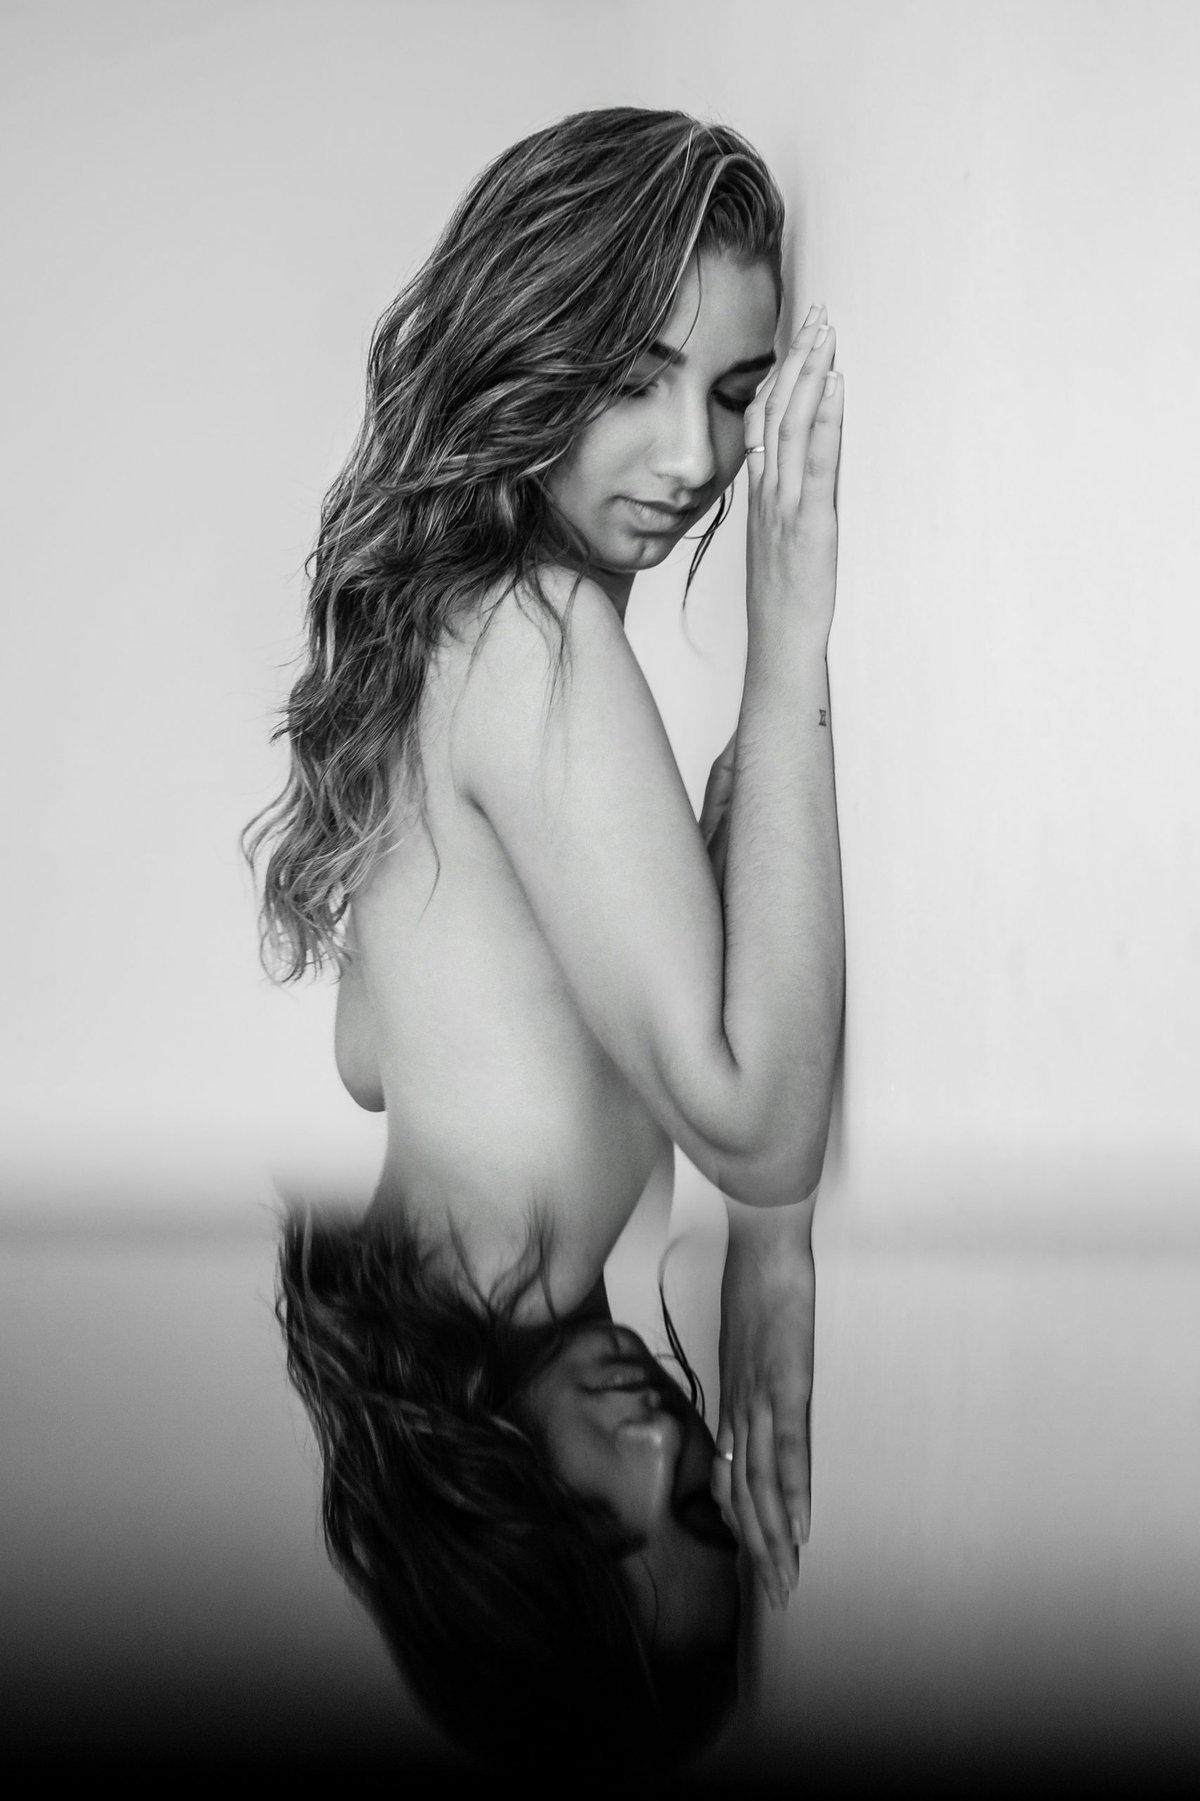
Most articles on boudoir photo editing stop at philosophy — “keep it natural,” “avoid over-editing” — without explaining how to actually achieve that. This covers the concrete technique: the retouching methods, the skin tone workflow, and the non-destructive editing structure that produces a natural, polished result rather than an obviously over-processed one.
Non-Destructive Workflow First
Before any retouching, working non-destructively — on duplicate layers or through adjustment layers rather than directly on the original pixels — is what makes it possible to dial back an edit that’s gone too far, which is the single most common failure mode in boudoir editing specifically. “Natural” boudoir editing is achieved less by any one technique and more by having the flexibility to reduce every adjustment’s intensity after seeing it applied, rather than committing irreversibly at each step.
Skin Retouching: Frequency Separation, Used Sparingly
Frequency separation — splitting an image into a “texture” layer and a “color/tone” layer, so blemishes and texture can be smoothed on one layer without softening the other — is the standard professional technique for skin retouching, and it’s the technique most DIY guides skip because it has a real learning curve.
The mistake that produces obviously over-edited boudoir photos isn’t using frequency separation — it’s applying it too heavily. Real skin texture (pores, fine lines, natural variation) should remain visible after retouching; frequency separation is for removing temporary blemishes and evening out tone, not eliminating all texture. A useful check: zoom to 100% and confirm skin still looks like skin, not like an airbrushed illustration.
Dodge and burn — selectively lightening and darkening small areas on a separate layer — is used after frequency separation to enhance the body’s natural contours through light and shadow, rather than to reshape the body itself. This is the technique responsible for the subtle sense of dimension in well-edited boudoir images, and it’s largely invisible when done well, which is why it’s rarely mentioned in surface-level editing guides.
Skin Tone Correction
Boudoir photography frequently involves mixed or challenging lighting (window light plus a lamp, or a colored gel light), which shifts skin tone unevenly across the frame. Correcting this generally happens in two passes: a global white balance correction first, then localized tone correction on any area (shadows under an arm, a shoulder closer to a colored light source) that still reads with an unnatural color cast after the global correction.
Color Grading
A consistent color grade — a deliberate shift toward warm tones, or toward a slightly desaturated, moody palette — is what gives a photographer’s boudoir work a recognizable style across a whole gallery, rather than each image looking independently edited. Applying the same grading approach (whether through a preset, a LUT, or a manually built curve adjustment) across an entire session’s images, then adjusting individual images only as needed, produces a more cohesive final gallery than editing each image from scratch.
Batch Workflow for a Full Session
Editing an entire session image-by-image from the start is the slowest and least consistent approach. A faster, more consistent workflow: cull to the final selects first, apply global corrections (white balance, exposure, color grade) to the whole batch at once using copy/sync tools, then do individual retouching only on the images that made the final cut.
Frequently Asked Questions
What’s the biggest mistake in boudoir photo editing? Over-applying skin retouching until texture disappears entirely — real skin should still look like skin after editing, not like an illustration.
Do I need frequency separation, or is basic retouching enough? For polished, professional-looking results, frequency separation is the standard technique because it separates texture from tone — basic healing/cloning tools alone tend to smooth both together, which is what produces an obviously “edited” look.
How do I keep a consistent look across an entire gallery? Apply the same color grading approach (preset, LUT, or curve adjustment) across the whole session first, then make individual adjustments only where needed — editing every image independently from scratch is what produces an inconsistent gallery.
Looking for a photographer whose editing style matches what you want? Search the directory by city and style and compare portfolios directly.