Disclosure: some links in this article are affiliate links. If you buy through them, we may earn a small commission at no extra cost to you.
DIY boudoir photography means taking your own intimate portraits in private, with no one else behind the camera. You close off a room, prepare, set up soft light and a timer, then edit and decide who sees the images. For a shorter walk-through, read our guide to taking boudoir photos at home.
What is a DIY boudoir shoot?
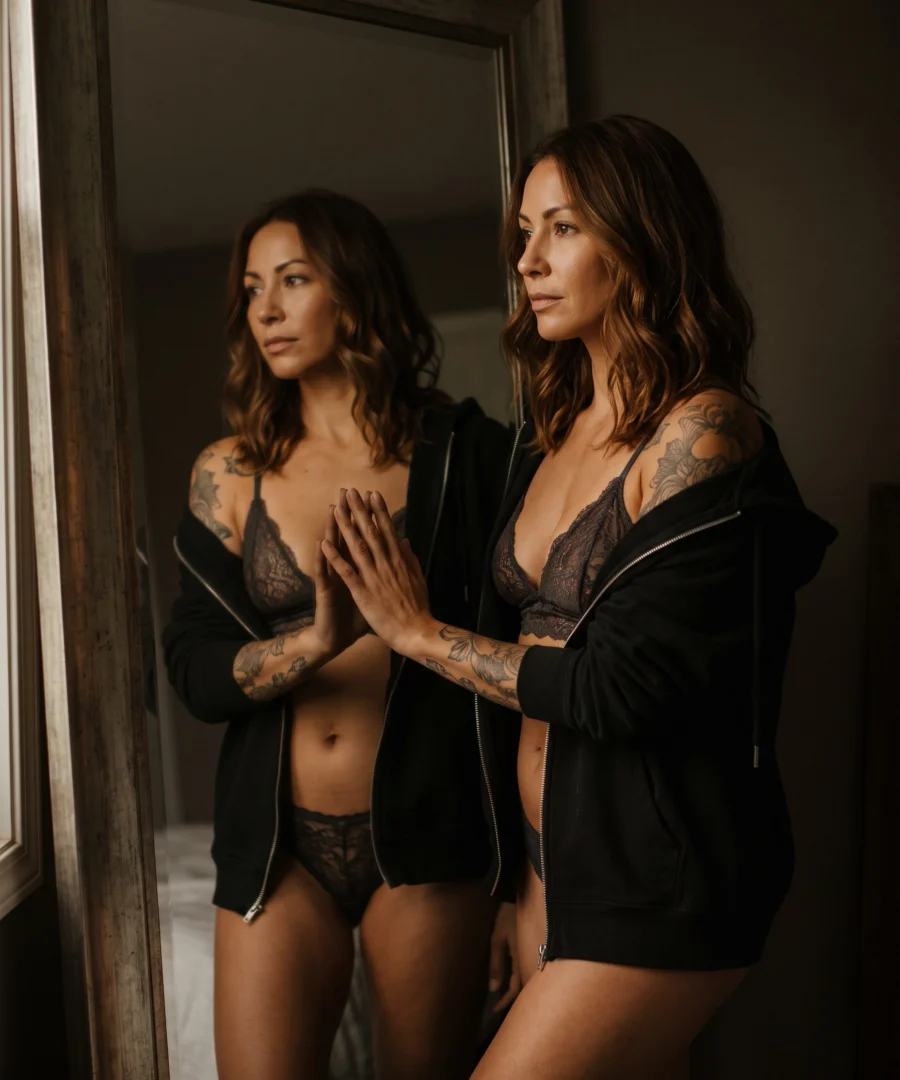
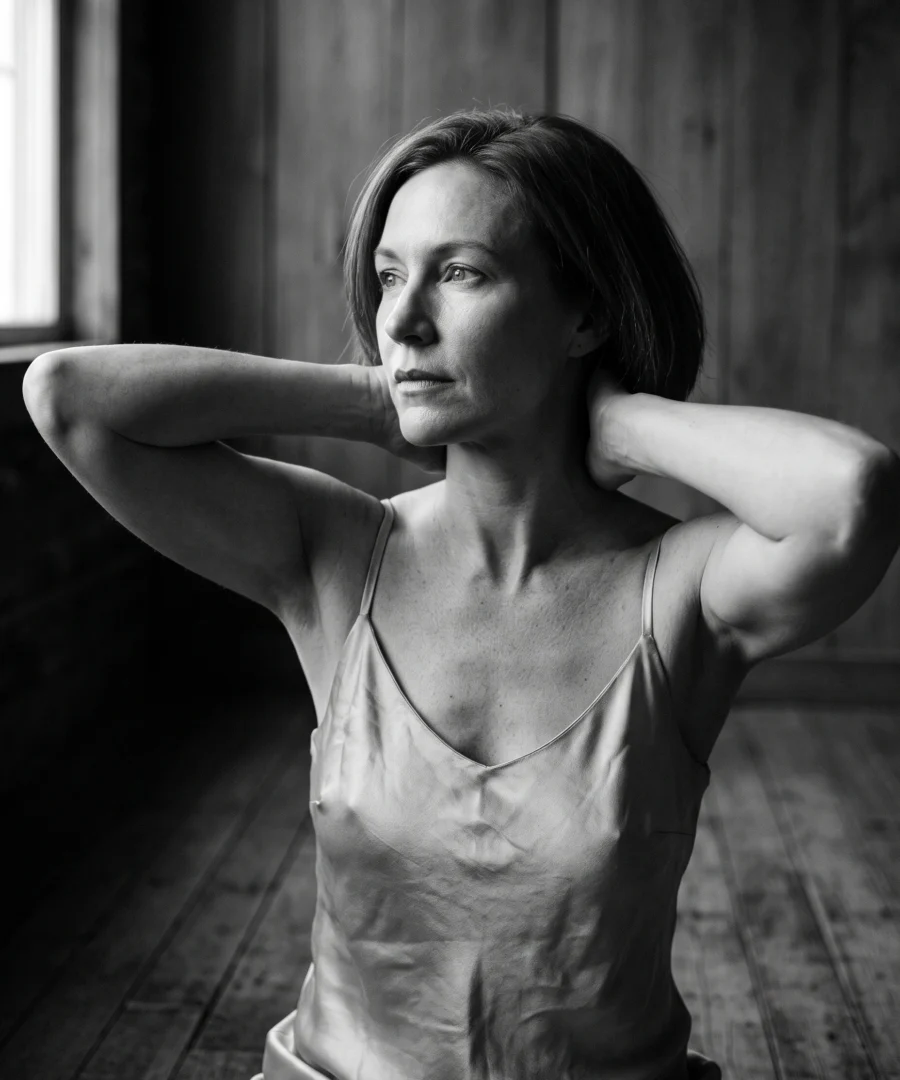
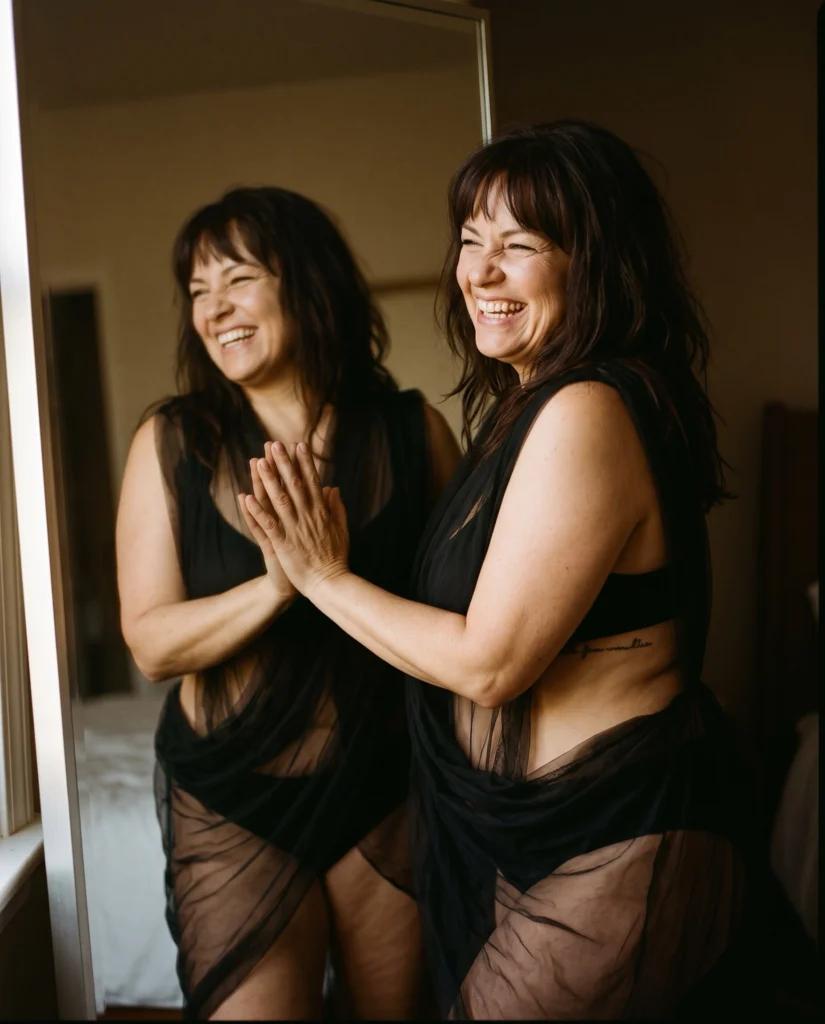
DIY boudoir photography is a style of intimate self-portrait that you plan, pose for and shoot on your own. The genre sits between portraiture and fine art. It shows self-expression, confidence and vulnerability, and you decide how all of that looks.
Three things make this route appealing:
- Privacy: no one else needs to be in the room.
- A more intimate session: the mood, clothes and pace are built around you.
- Control: you run the whole creative process, from the first idea to the final images.
A small rule
Consent still counts when you are alone. Take only the photos you are comfortable with, and remember that the process and the final images stay in your control.
How to set up your space for boudoir photos at home
Start with the room. Everything else in your boudoir photo shoot builds on a space where you feel safe.
Choose a room you can close off
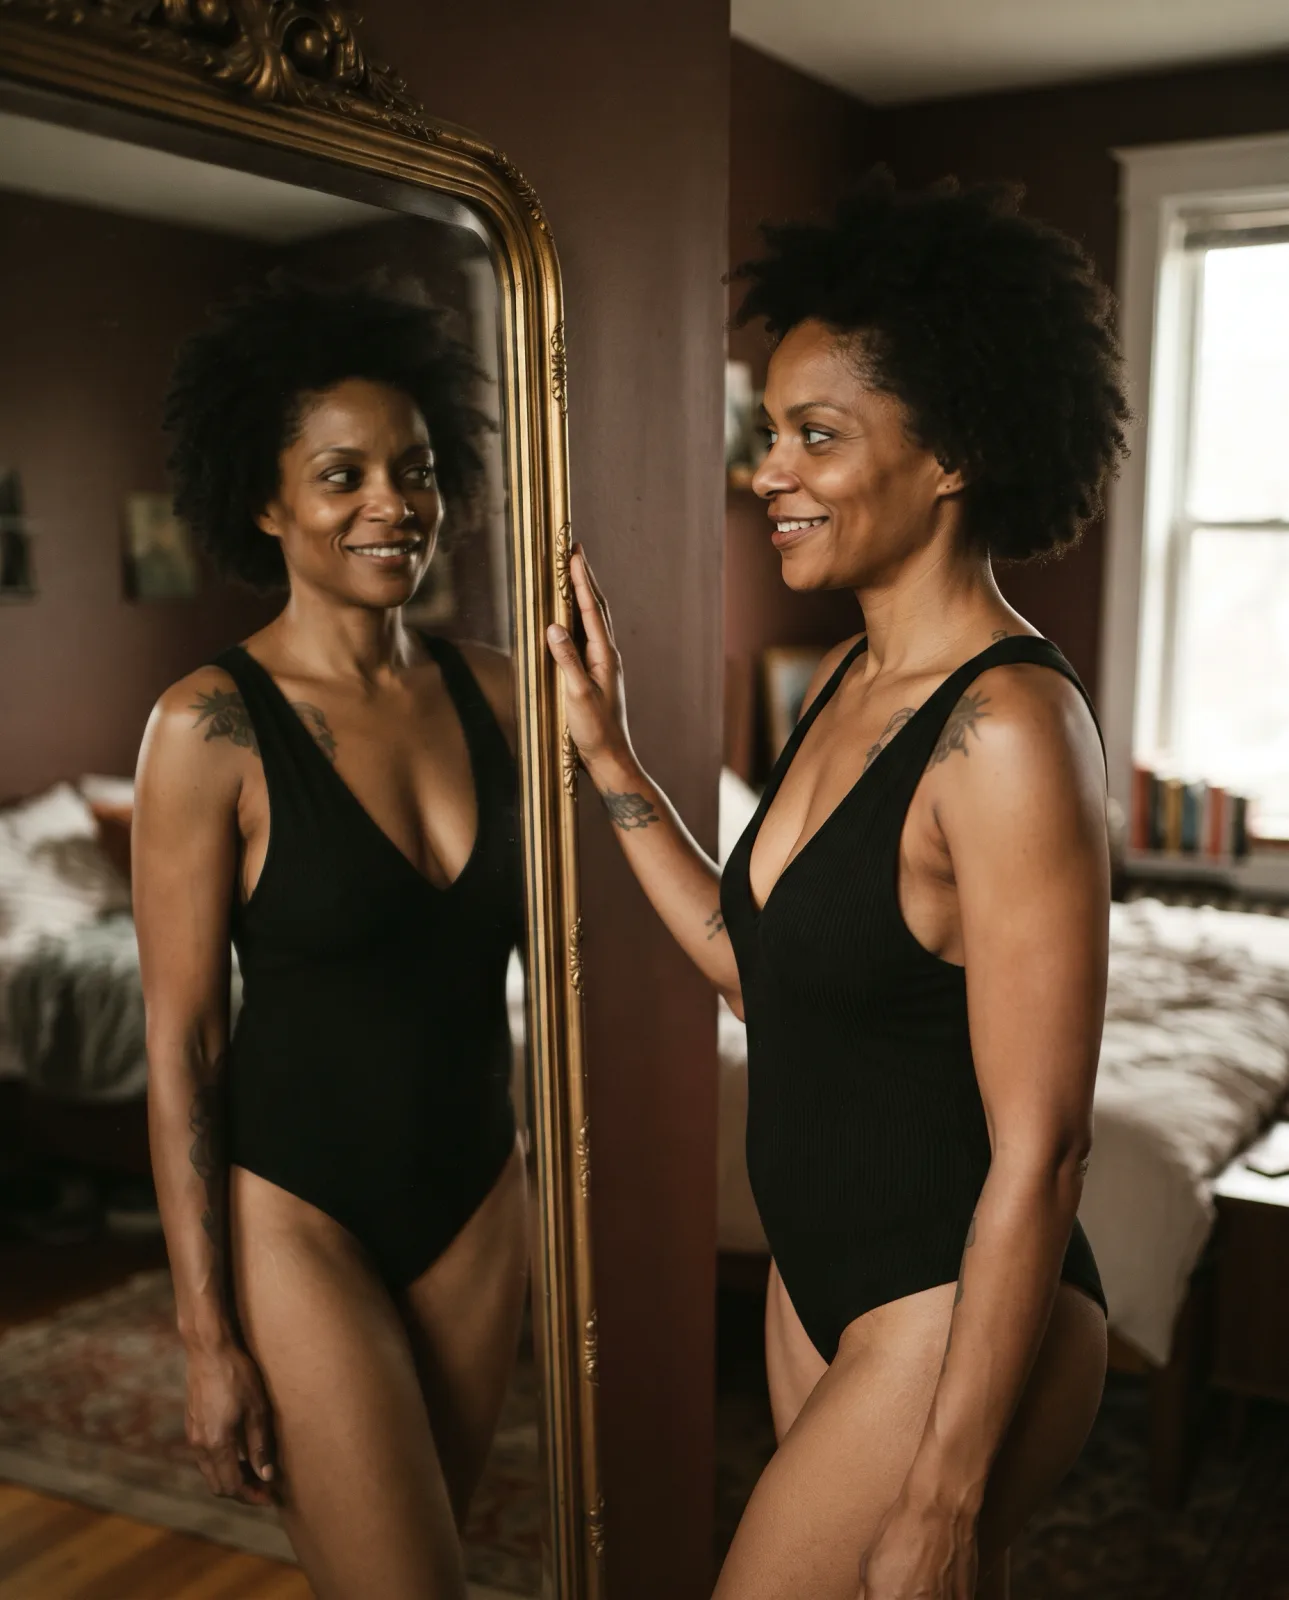
A cozy corner of your bedroom works well. So does a hotel room you book for the day. Look for privacy and comfort first, then for a place that suits your personal style.
Before you begin, run through this short list:
- Lock the doors and draw the curtains.
- Hang a “Do Not Disturb” sign if someone could walk in.
- Set the room to a temperature that feels comfortable.
- Play soft music if it relaxes you.
- Put away anything that distracts you.
Pick simple props and a backdrop
Let the mood you want guide your choices. Sheets, pillows and flowers add an artistic touch and keep the focus on you. For the background, drapery or a simple clean wall will both work. Our list of props for your photo shoot has more boudoir photography ideas.
What to wear and how to prepare for your shoot
Wear what makes you feel confident and comfortable. That could be lingerie, or it could be a favorite oversized sweater. There is no required outfit.
Take care of yourself beforehand, for how you feel as much as how you look. Pick what suits you:
- A haircut or some fresh grooming
- A manicure
- A soothing skincare routine
Let go of unrealistic beauty standards before you pick up the camera. This session celebrates the body you have today, not a version you think you should have.
Good to know
Feeling nervous is normal. Pause, breathe and remember why you decided to do this.
Photography tips for lighting, settings and poses
These boudoir photography tips follow the order you will use them on the day: light first, then the camera, then your poses.
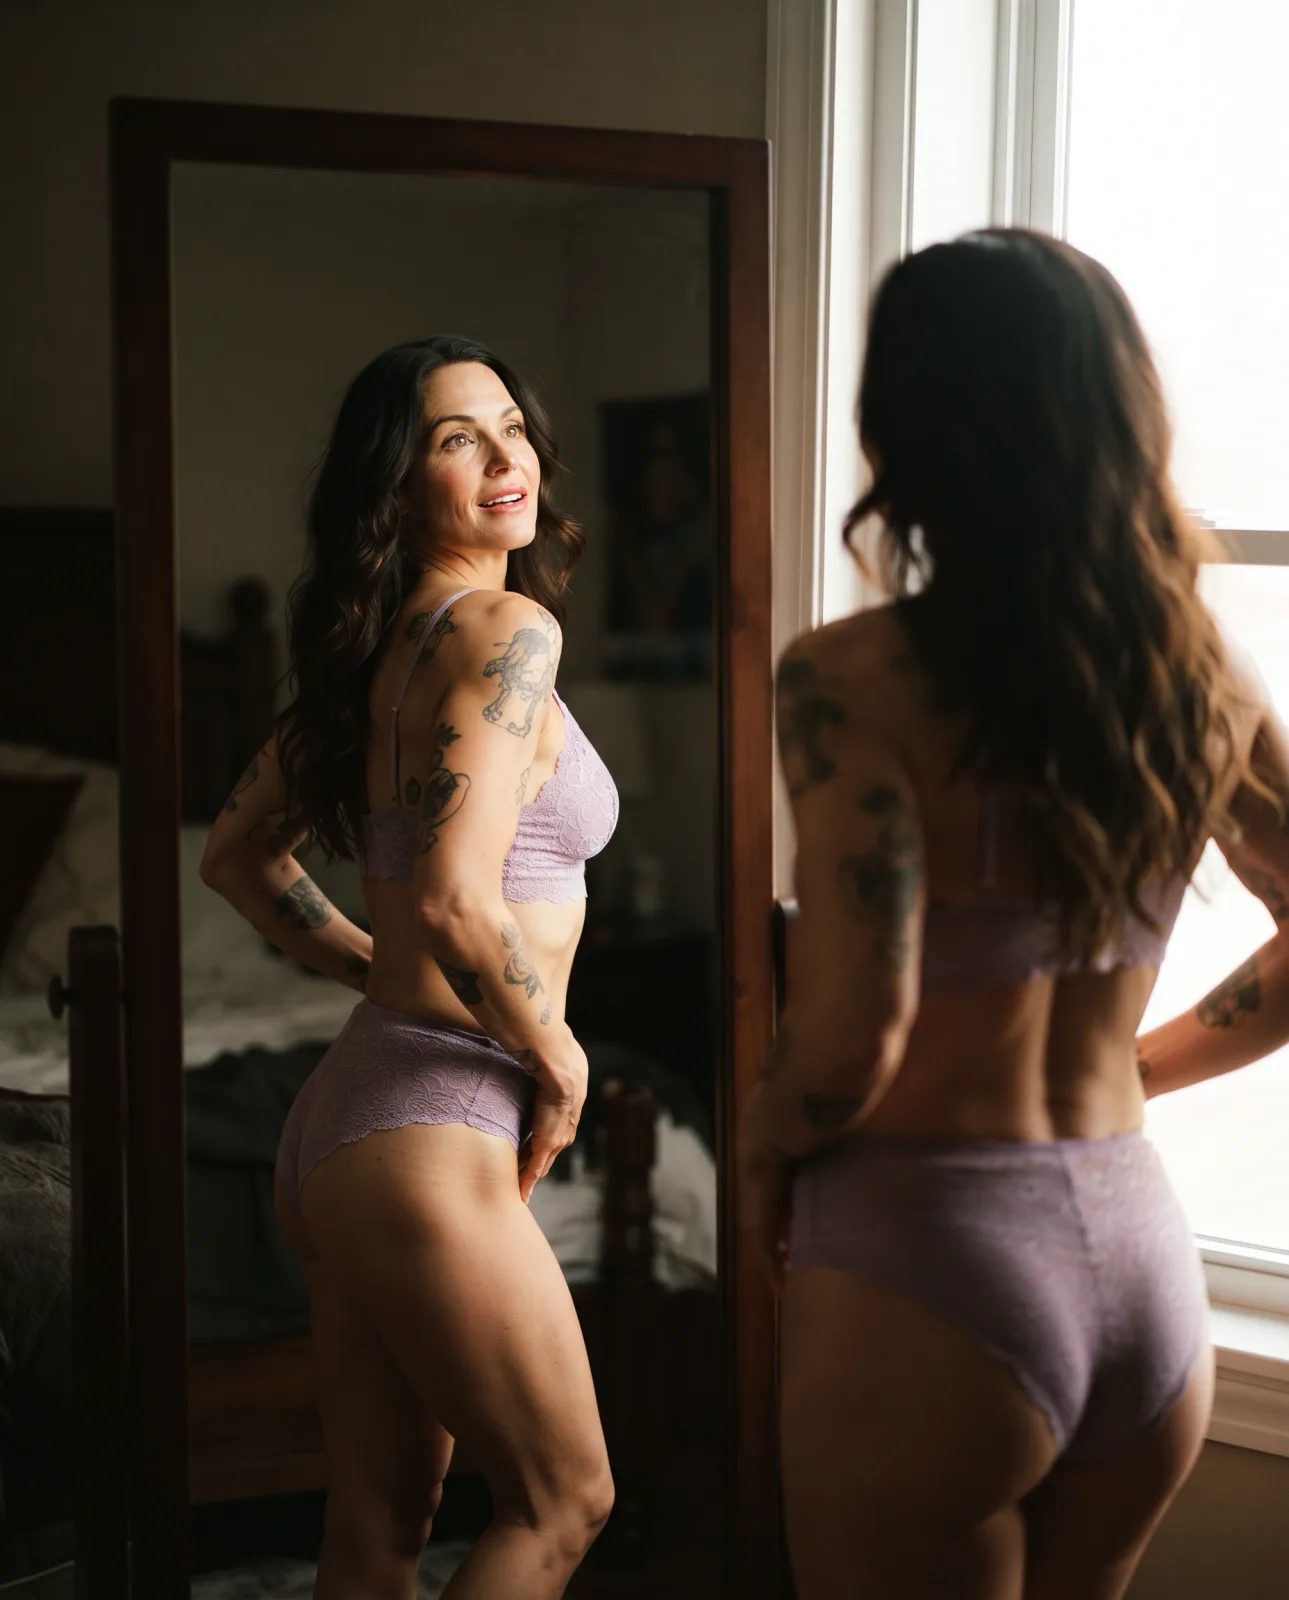
Lighting that flatters
Natural light is the simplest choice because it casts soft shadows that show your features gently. If you do not have enough of it, ring lights or softboxes give a similar effect.
Camera settings for a soft look
Set a lower aperture for a soft background blur. Keep the shutter speed fast enough to prevent camera shake. A timer or remote lets you get into position without rushing.
No camera? Our guide to shooting your photos on a phone covers that route.
DIY boudoir poses to practice
Posing gets easier with practice, so give yourself time. Try this order:
- Find poses you like from models or boudoir influencers.
- Mirror one of them and shoot it from a few angles.
- Review the shots and note the angles you like.
- Add your own touches until the pose feels like yours.
DIY vs professional boudoir photography: which fits you?
DIY fits you if privacy and control matter most and you are willing to learn the camera work. A professional is the better choice if you want polish beyond your skills or a confidence boost during the session. The main cost of going alone is the learning curve with equipment and technique.
| Factor | DIY | Professional |
|---|---|---|
| Privacy | Only you in the room | You share the session with a photographer |
| Creative control | You make every choice | You share the choices |
| Skills needed | You learn equipment and technique | The photographer brings them |
| Polish of the final images | Depends on your current skills | Can go beyond what you can do alone |
| Confidence support | You build it yourself | A professional can give you a boost |
We recommend this simple decision rule:
- Go DIY when privacy and control come first and you want to learn.
- Hire a professional when you want more polish or support in front of the camera.
- Blend the two when you want to shoot alone with some guidance, using online workshops, tutorials or a preliminary session with a professional.
How to edit and share your photos
Your control does not stop when the shoot ends. Editing and sharing are both your call.
Editing with a light hand
Adjust lighting, contrast and color, and stop while the image still looks like you. Heavy filters and retouching pull a photo away from the real moment. Lightroom and Photoshop are two popular tools for this work.
Deciding who sees your photos
Your own boudoir photos can stay yours alone. If you share them, choose people and platforms based on your comfort and trust. Respect your privacy and boundaries, and think about how others may handle the images once they have them.
DIY boudoir photography: frequently asked questions
How do you take boudoir photos of yourself?
Put your camera or phone on a steady surface, then use a timer or remote to shoot. Close off a private room, set up soft light from a window or a ring light, and practice each pose before you shoot it. Review the images as you go and keep only the photos you are comfortable with.
Do you need a professional camera for a DIY boudoir photoshoot?
No, you do not need a professional camera to start. A phone with a timer can work, as long as it sits steady and you have soft light. A camera gives you more control over aperture and background blur, but it comes with a learning curve. Start with the gear you have, then learn more if you want a different look.
Is DIY boudoir photography good for beginners?
Yes, DIY boudoir photography can suit beginners who are willing to learn as they go. You will need some practice with equipment, light and posing, and feeling nervous at first is normal. Online tutorials and workshops can fill the gaps. If you want more polish or support, a preliminary session with a professional is a gentle way to begin.
Who should see my DIY boudoir photos?
Only the people you choose should see them. Base that choice on your comfort and your trust in each person. You owe no one access to these images, and keeping them completely private is a valid choice. If you do share, think first about how the other person may handle the photos and whether that fits your boundaries.