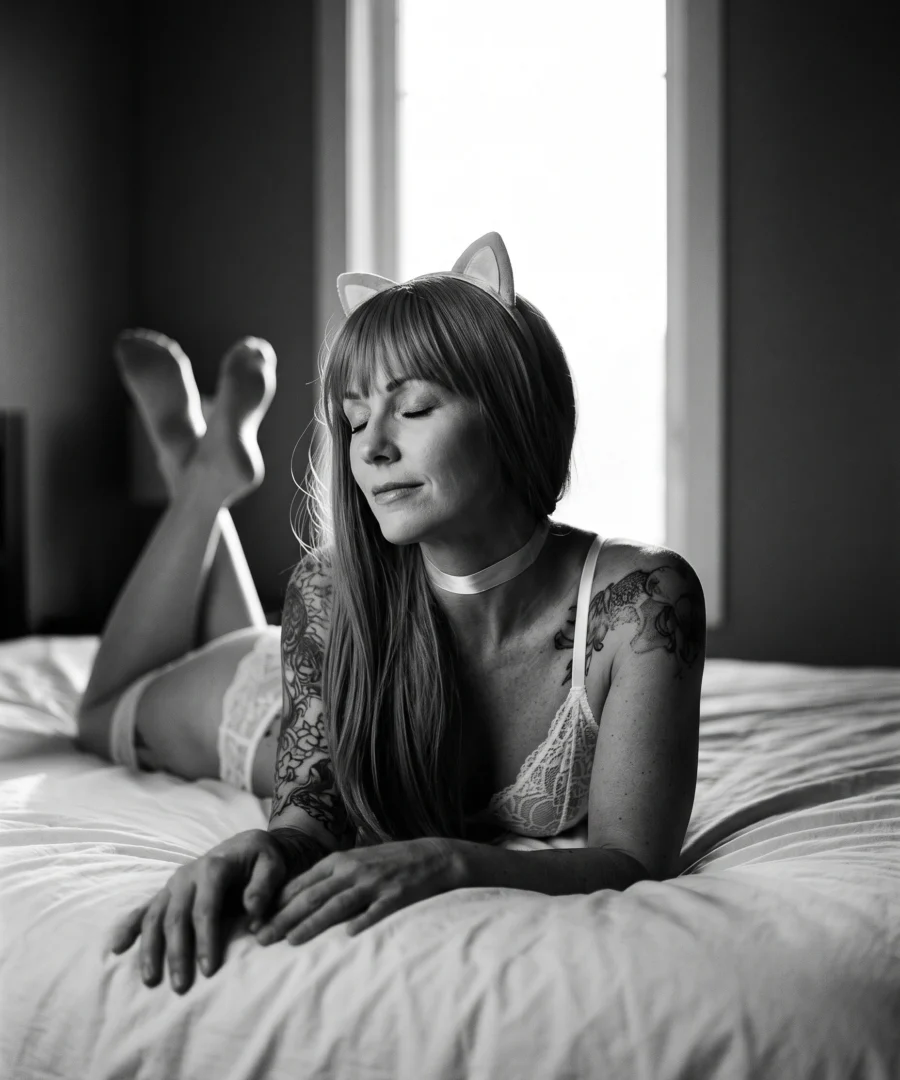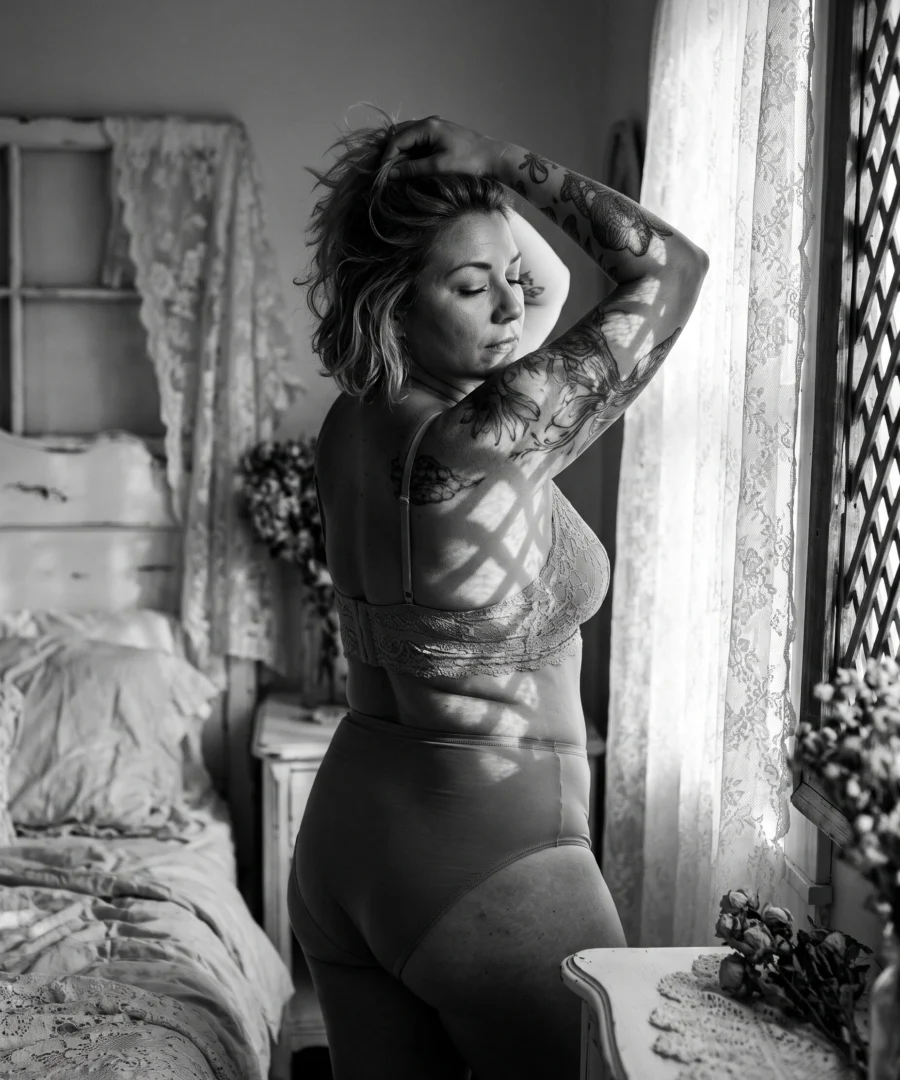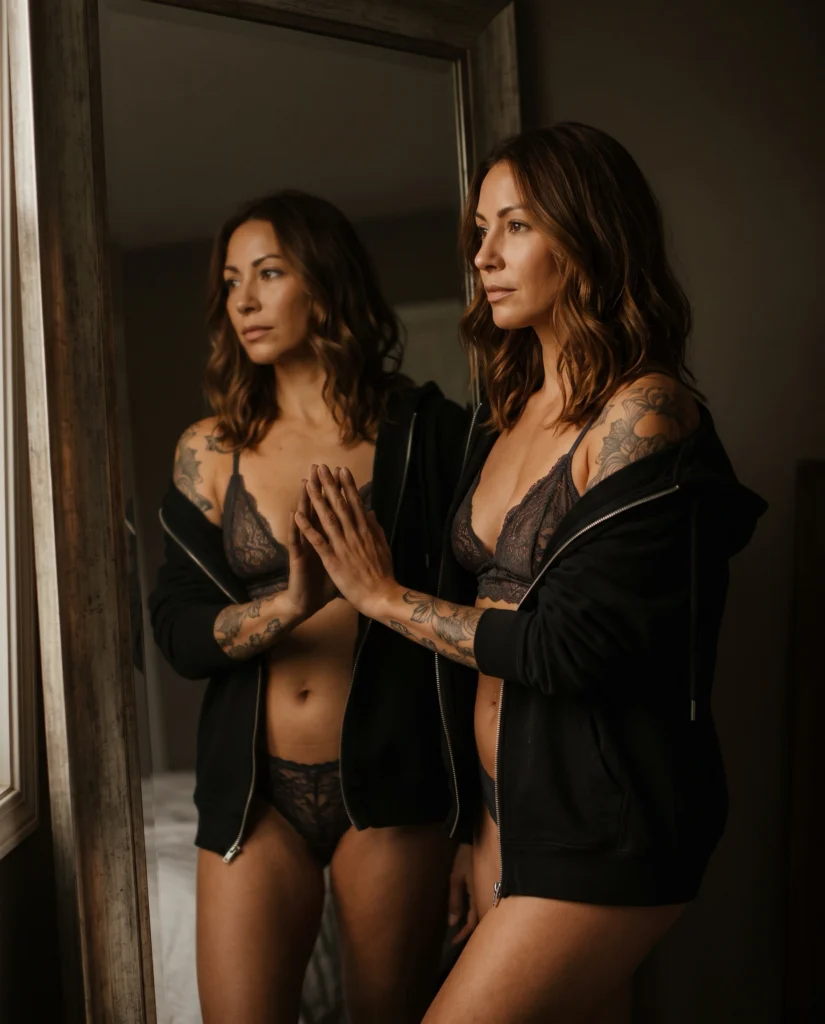
DIY boudoir photography takes a quiet room, soft window light, a steady camera and a timer or remote. Plan your shoot, test your setup, then pose at your own pace. This is personal boudoir photography on your terms: you decide what to wear, what to keep and who sees the photos.
How to take boudoir photos at home
DIY boudoir photography is taking your own intimate, tasteful portraits at home to celebrate your body as it is. It centers on sensuality, beauty and self-love.
Boudoir is now more widely accepted across body types, genders and ages, so no one has to fit one mold. These DIY boudoir photography tips follow the order of a shoot, so take them one step at a time.
Plan your DIY boudoir shoot
Start with your reason, because it guides every later choice. Common ones are:
- Self-love and embracing your body
- Marking a milestone
- Healing from old insecurities
- A gift for a partner
Next, pick a theme. Two simple DIY boudoir photoshoot ideas are an ethereal fairy tale and a vintage look.
Then build a mood board of boudoir photography ideas you like, from lighting to poses and outfits. Keep it close during the shoot.
Which room and light work best for a boudoir shoot?
The best room is one where you feel at ease, lit by soft, diffused window light. A bedroom with soft bedding is the easy choice, and a walk-in closet or bathroom can also work.
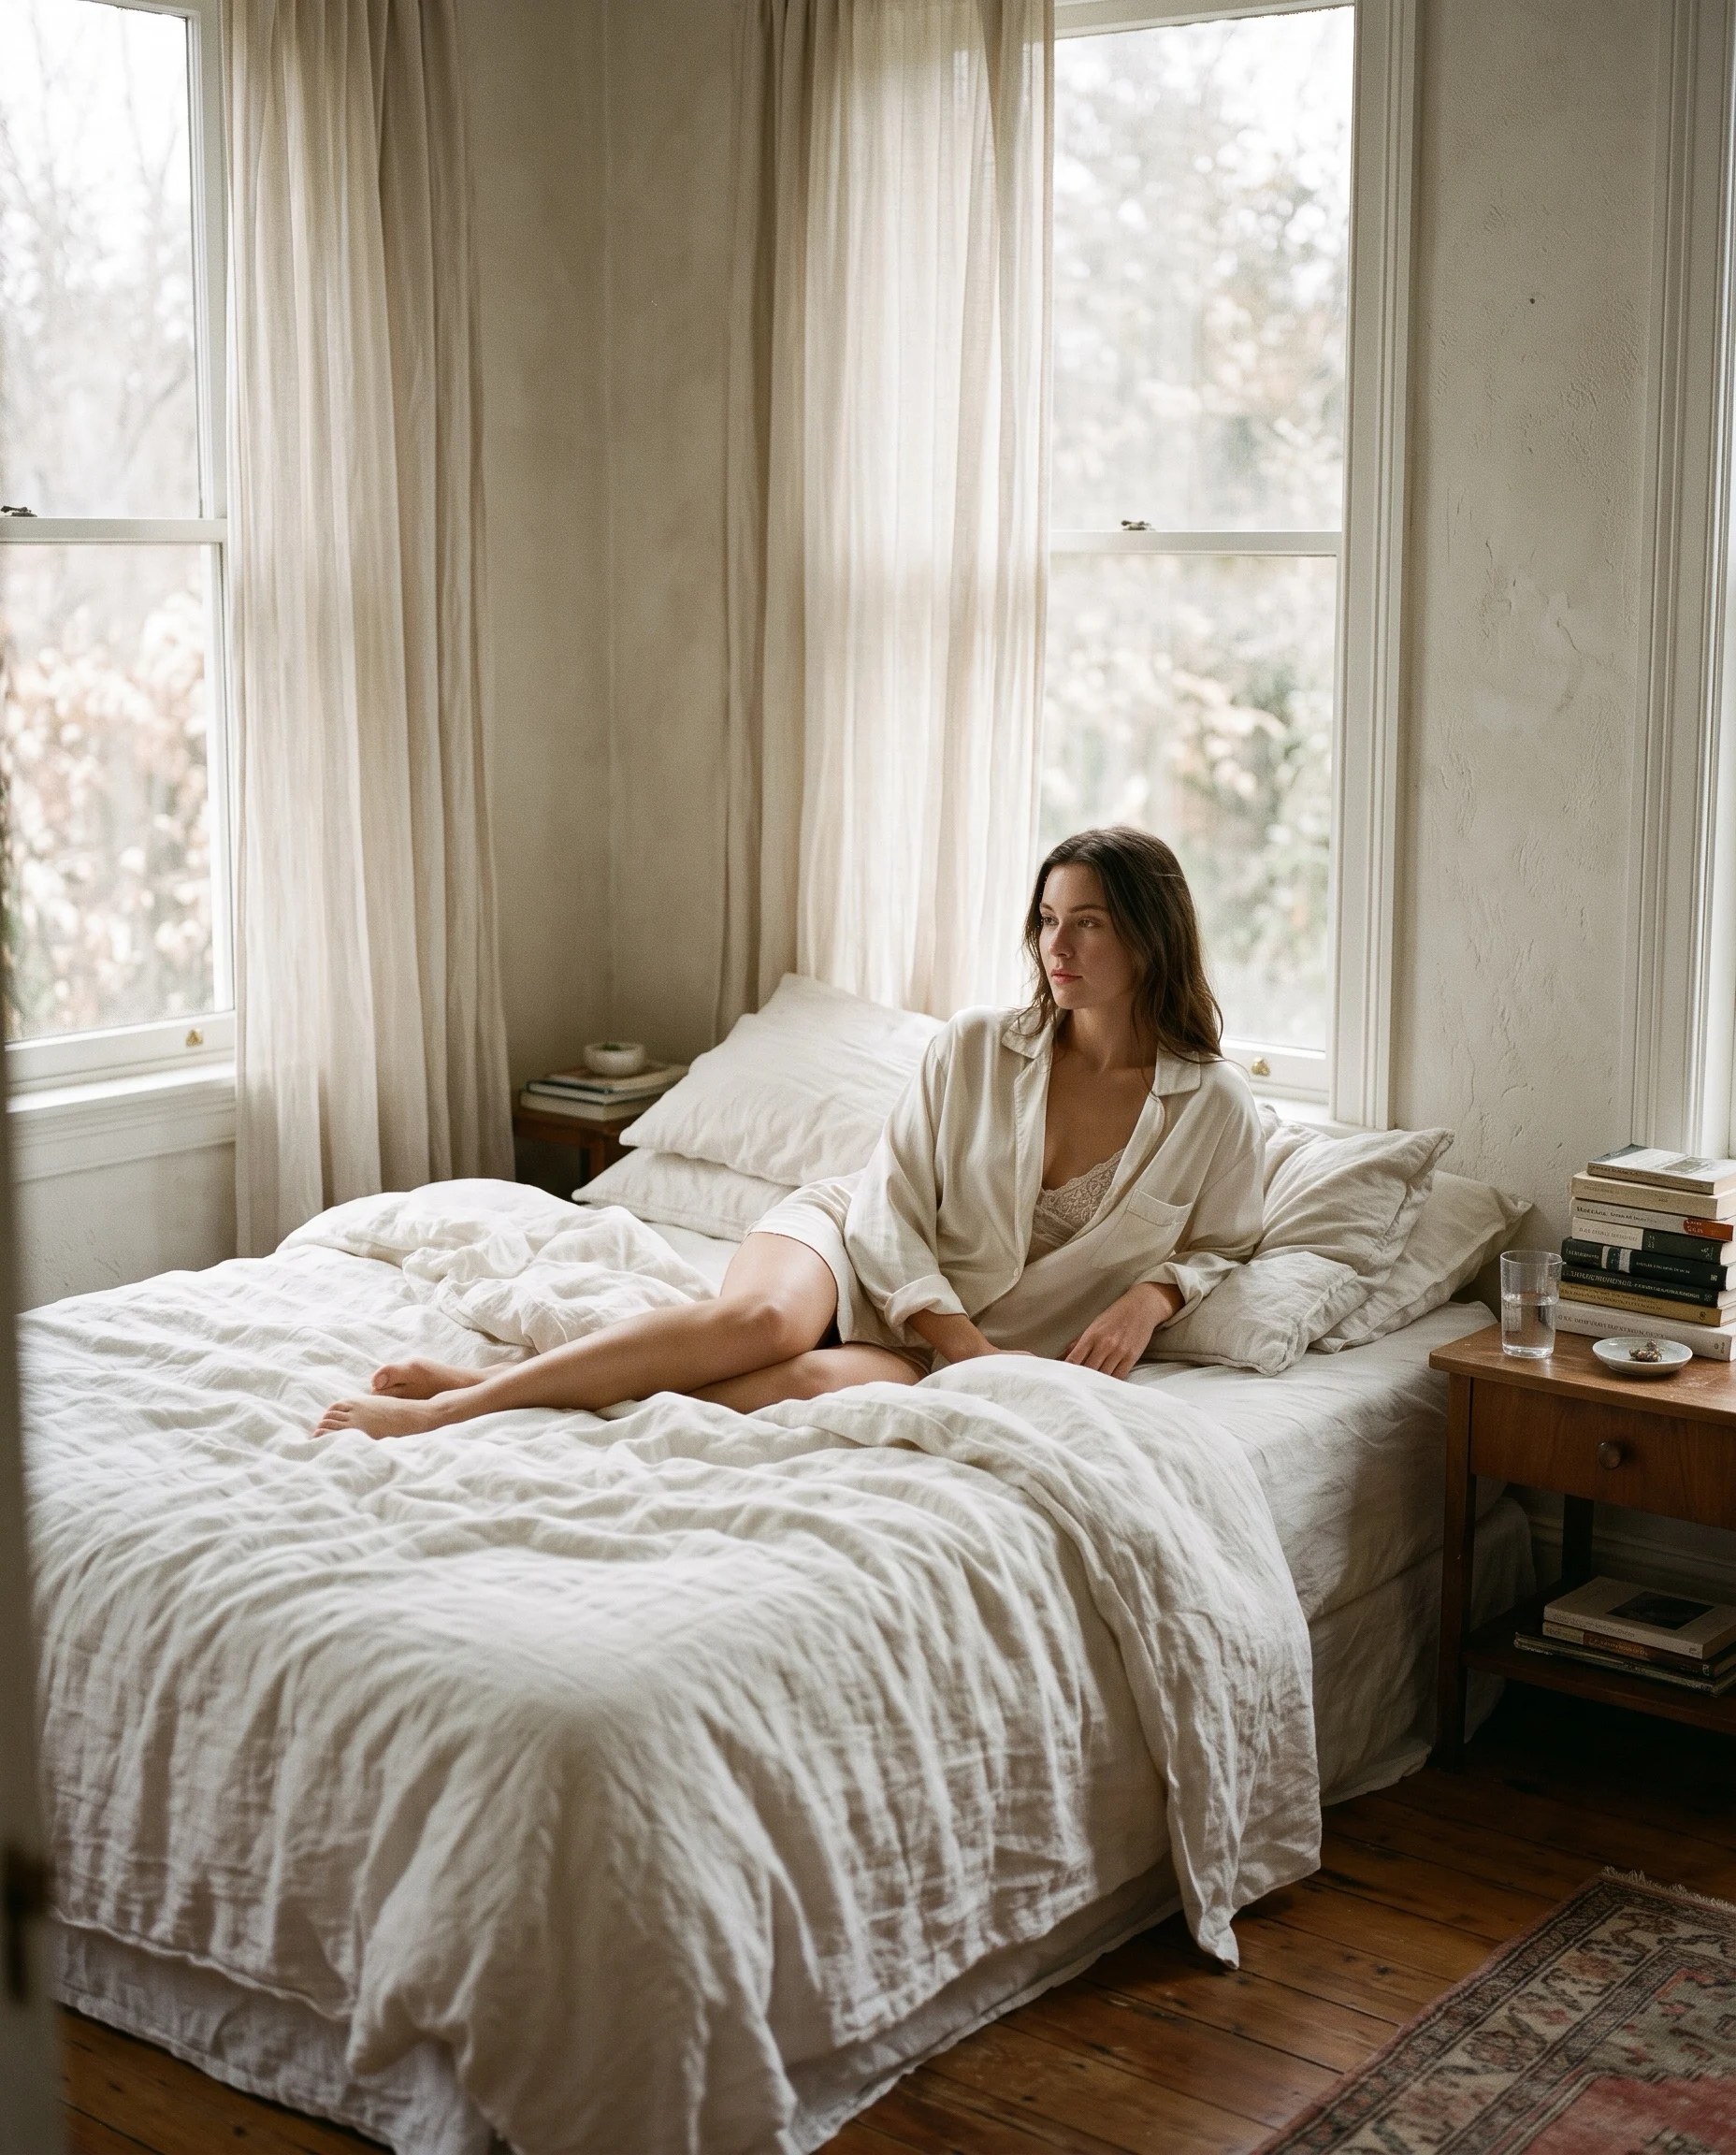
A window acts as a natural softbox, and its shadows add depth. For a darker look, read about moody light and emotion in your photos.
Small changes can transform a plain room:
- Drape fabric or hang string lights
- Add flowers or a textured throw
- Rearrange furniture to clear space
Good to know
A ring light or softbox is optional. Watch its placement and strength so the photo stays intimate.
Best camera settings for self-portraits
No single setting suits every room, so learn what each one does. A camera with manual settings gives you the most control.
- Aperture: how wide the lens opens. A wider opening lets in more light and softens the background.
- Shutter speed: how long the camera takes in light. Slower speeds brighten the photo but can blur movement.
- ISO: how sensitive the camera is to light. Higher values brighten the photo but add grain.
A sturdy tripod or stable surface keeps boudoir self-portraits sharp and frees you to move.
Timer, remote shutter or burst mode
| Tool | Use it when |
|---|---|
| Timer | A few seconds is enough to get into position |
| Remote shutter | You want to shoot at the exact moment you feel relaxed |
| Burst mode | You are testing poses or expressions |
Test shot checklist
Before you commit to a pose, take a few test shots and check:
- Light: soft on your skin, with shadows where you want them
- Composition: you are where you planned in the frame
- Settings: not too bright, too dark or blurred
- Stability: the camera is firm and still
- Background: nothing pulls the eye away from you
Keep reviewing as you shoot. If something is off, change the pose, the light or one setting.
Outfits, hair and makeup for your photoshoot
Wear what makes you feel confident, whether that is lingerie, everyday clothes or one accessory. If you are unsure, start with how to choose lingerie for a shoot. Use props sparingly, and pick items that mean something to you.
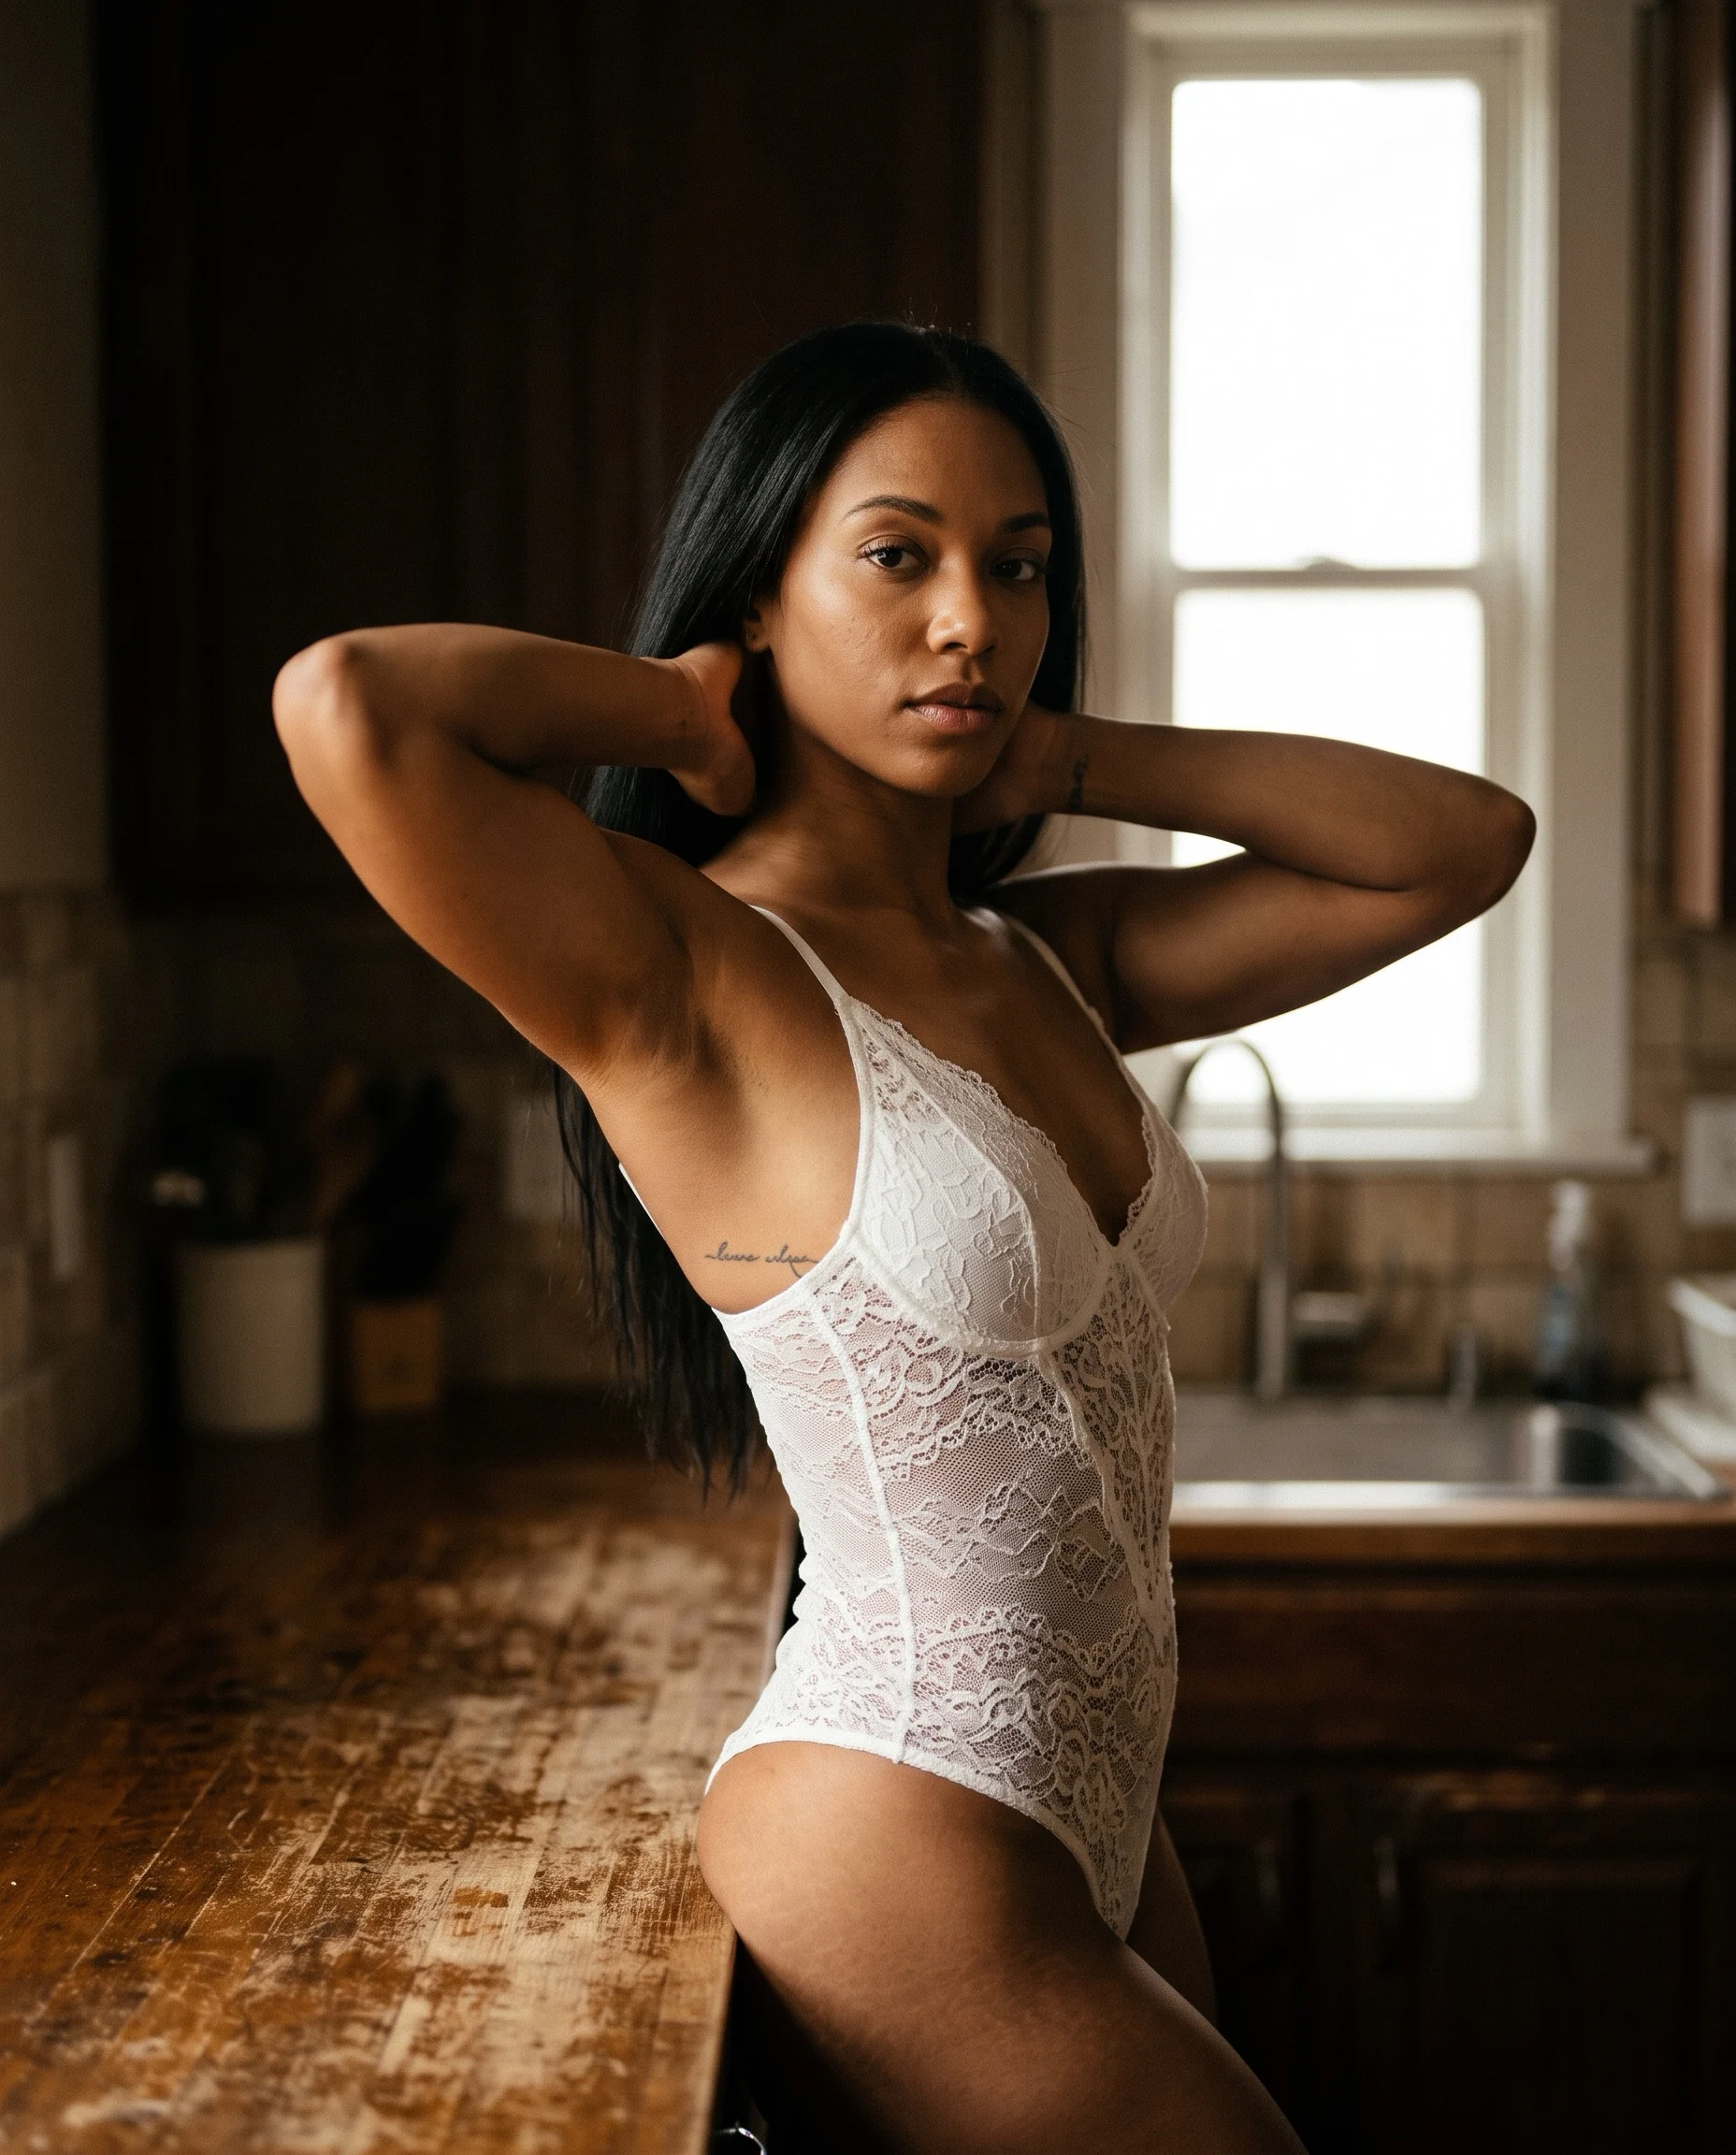
Care for yourself in the days before your boudoir photo shoot with a bath, your skincare routine and enough sleep.
Hair and makeup can be natural or dramatic. Primer helps makeup go on smoothly, and a hairstyle that suits your face shape makes a real difference.
Flattering poses and composition for your shoot
Look at other sessions to see how bodies are angled and where the eyes look. Then test these on yourself:
- Arch your back slightly
- Tilt your chin
- Move your hands to a new place
- Change the camera angle
For composition, use the rule of thirds for balance and negative space to draw focus. Keep the background simple so it does not distract.
How to relax in front of your camera
Nerves are normal, so name them and remember why you are doing this. Make a playlist that helps you feel strong or relaxed.
A small rule
This self boudoir photoshoot runs on your schedule. Pause, change a pose or stop whenever you want.
How to choose and edit your photos after the shoot
Choose by your first emotional response, because the photos that move you right away are often the ones you will treasure.
Then edit in small steps:
- Adjust contrast and brightness
- Crop to improve the composition
- Try black and white
Use presets and filters with caution. They should support the image, not hide it.
Perfection is not the goal. These photos are about you as you are.
Sharing them, publicly or privately, is entirely your choice. Keeping them only for yourself is just as valid.
DIY boudoir photography: frequently asked questions
Can I use a phone instead of a camera for a DIY boudoir shoot?
Yes, a phone works for a DIY boudoir shoot. A camera with manual settings gives you more control over exposure and mood, but it is not required. Whichever you use, place it on a steady support, face soft window light and take test shots first. Learn the tool you already own before you think about buying another.
What equipment do I truly need for an at-home boudoir photoshoot?
You only need a camera or phone, a stable surface and soft daylight from a window. A tripod and a remote shutter make the shoot easier, but a timer can do the job. A ring light or softbox is an optional extra. We recommend starting with what you own and adding gear only if your test shots show a clear need.
How can I feel less nervous when I shoot alone?
Accept the nerves first, since they are normal during a first shoot. Remind yourself why you chose to do this, then play music that helps you relax. Take a few test shots with easy poses so you can get used to the camera. Go at your own pace, and take a break or stop whenever you need to.
How do I keep my own boudoir photos private?
Keep your own boudoir photos private by controlling where they are saved. Before you shoot, check whether your phone or camera app backs up to the cloud or a shared album. Move the photos you want to a protected folder and delete the ones you do not want. You decide who sees them, and you never need to share them.