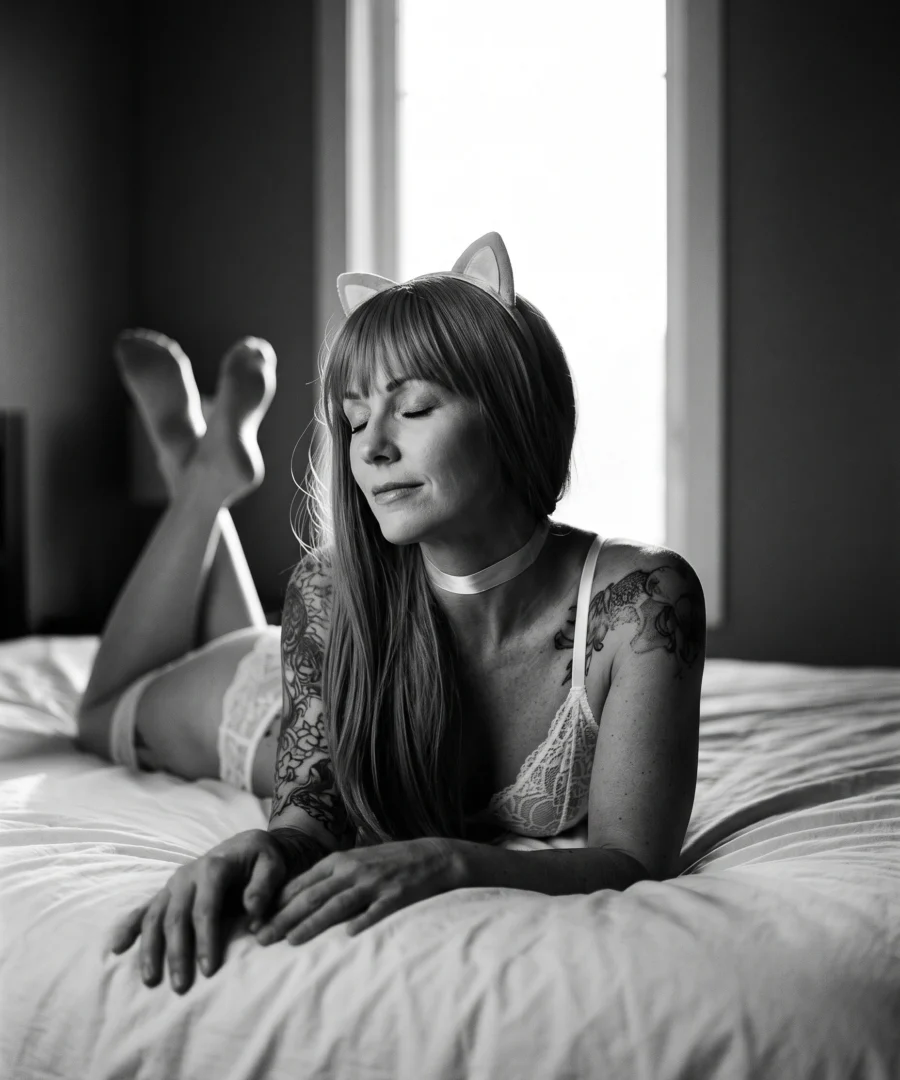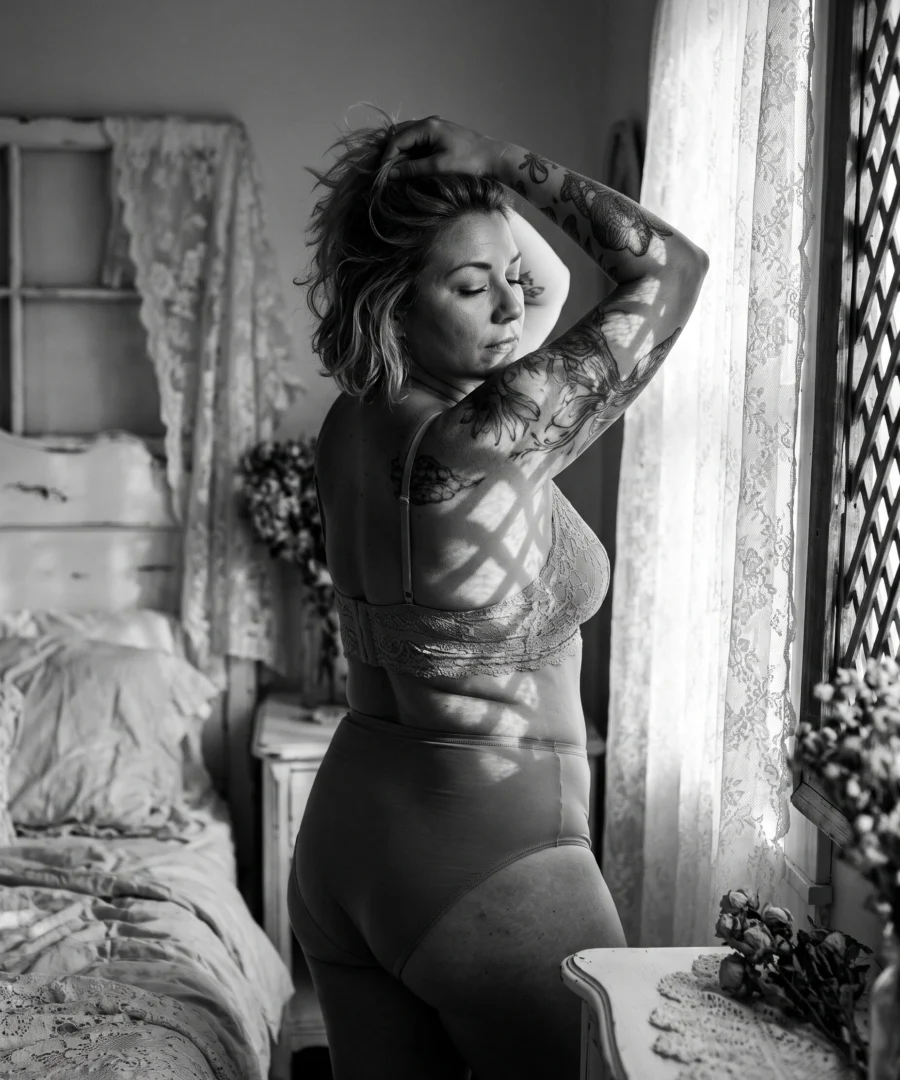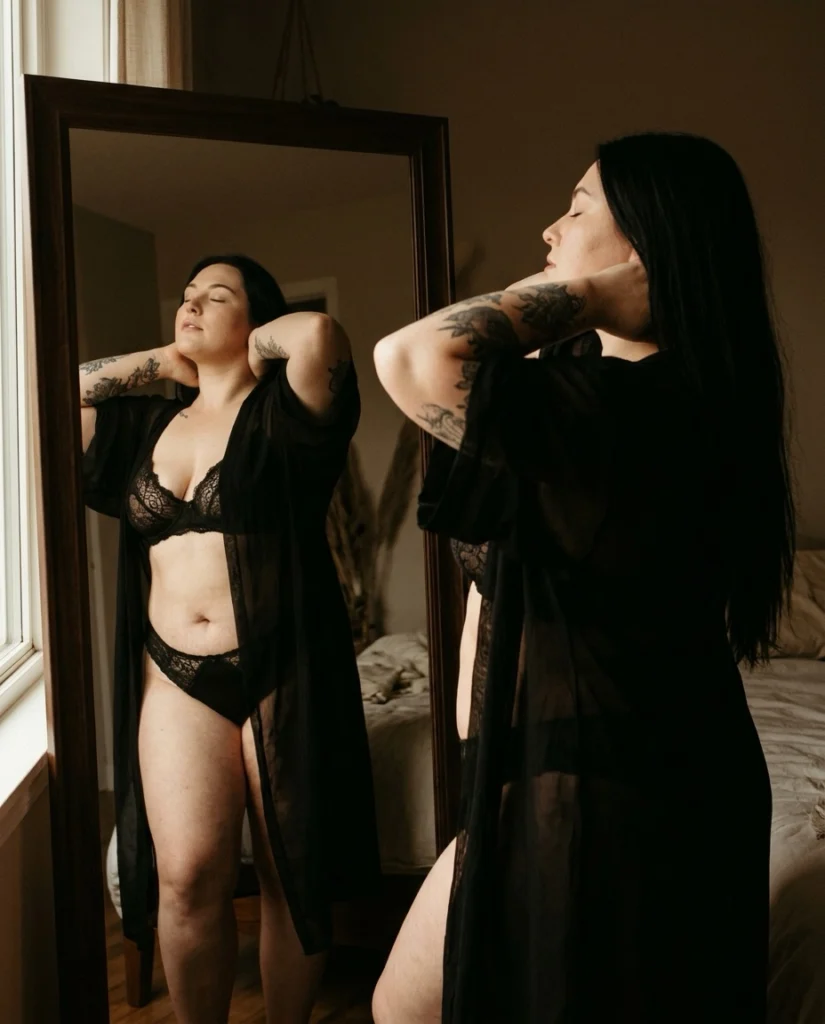
The best DIY boudoir photography tips are simple: plan your poses, shoot in soft window light, fix your camera on a tripod, trigger it with a timer or remote, and store the photos privately. For the wider picture, see our simple guide to at-home boudoir photos. This one is about shooting alone.
What is DIY boudoir photography?
DIY boudoir photography is intimate photography you plan and shoot yourself, usually in a bedroom or private dressing room, to celebrate your body and self-confidence. You control the pose, the pace and every image you keep.
People do it for their own enjoyment, as a gift for a partner, or to mark a certain time in life. Four things matter most: comfort, flattering light, thoughtful composition and privacy.
How do you plan a shoot at home?
Plan a shoot at home by picking a theme first, then matching your outfits, hair and makeup to it. Themes run from romantic and soft to edgy and bold, so pick the one that feels like you.
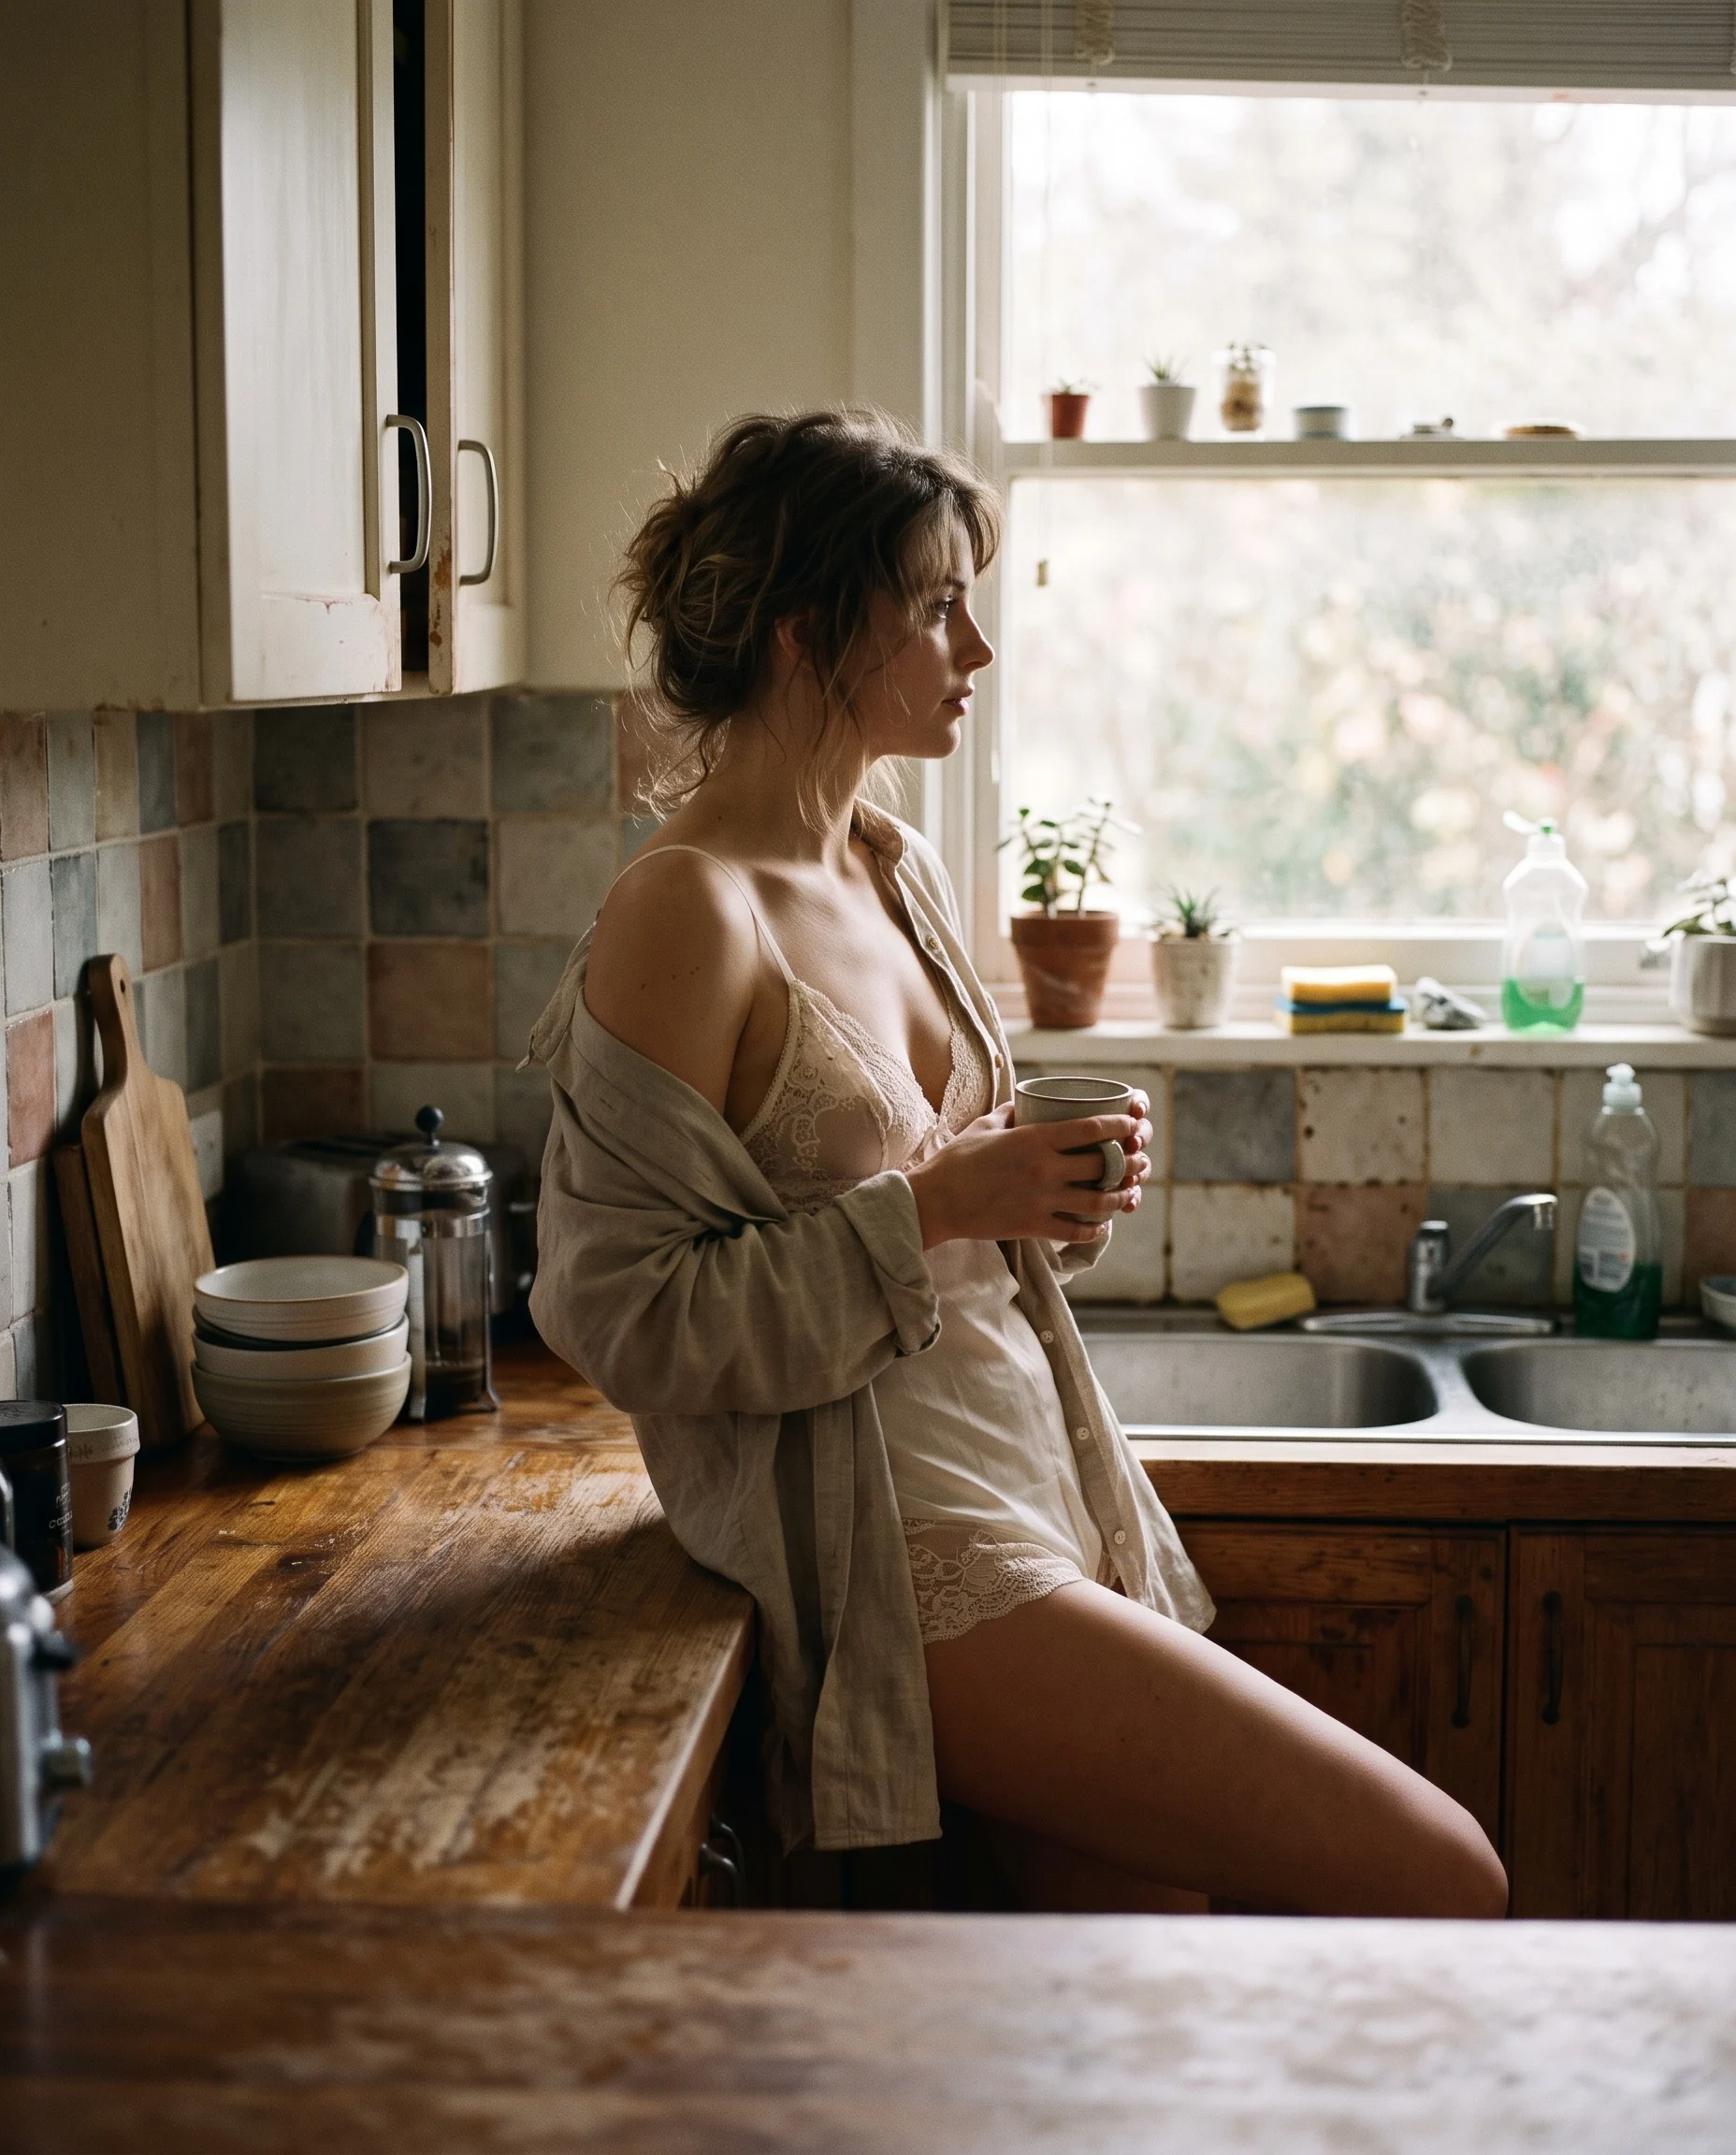
Lingerie and robes are the usual picks, and a personal item such as a partner’s shirt works too. Wear what makes you feel confident.
Keep hair and makeup close to your natural look. A professional artist is an option, not a must.
Home boudoir photo setup: space, props and light
You don’t need a fancy studio for a DIY boudoir shoot. A clean, private room with good natural light is enough.
Clear the space and choose props
Clear the clutter from everything the camera can see, then close the door and pick a time when no one will walk in. Privacy is what lets you relax.
Add one or two pieces with character, such as a plush armchair, luxurious bedspread or ornate mirror. Remove any prop that pulls the eye from you.
Use light to set mood and shape
Soft, diffused light flatters skin and casts gentle shadows. Shoot near a window by day and use soft artificial lights at night.
- Natural light: soft and easy to work with.
- Artificial light: more control over the mood.
- Side light: shows the contours of your body.
- Backlight: adds a soft glow around you.
Shadows add mystery and form, while highlights draw the eye to details, so balance the two. For a darker look, browse these moody light and wardrobe ideas.
What gear do you need to shoot alone?
You need a camera you understand, a tripod and a way to fire the shutter from across the room. The camera need not be top of the line. For phones, read our guide to taking boudoir photos with your phone.
The best lens for boudoir photography has a focal length between 50mm and 85mm. That range gives a natural perspective without distorting your body’s proportions.
| Item | What it does |
|---|---|
| Camera | Works well once you know its functions |
| 50mm to 85mm lens | Keeps proportions natural |
| Tripod | Keeps the camera stable, the focus sharp and the framing consistent |
| Remote shutter or self-timer | Lets you pose without rushing back to the camera |
| Reflector | Helps you manage the light |
How to take boudoir photos of yourself
Learning how to take boudoir photos at home gets easier with a fixed order. We recommend this self-portrait run sheet, which turns the DIY boudoir photography tips above into nine steps.
- Choose your theme and write down your poses.
- Clear the space and secure your privacy.
- Set up by the window or soft lamps.
- Fix the camera on the tripod.
- Take test shots to adjust framing and light.
- Trigger the shutter with the timer or remote.
- Check your pose in a mirror.
- Take plenty of shots.
- Review, select and back up the keepers.
Poses that work without a photographer
Arch your back a little, or shift your weight to one leg. Small moves like these make a real difference. Drop any pose that hurts or feels wrong, and try the next one on your list.
Angles, mirrors and movement
A high angle feels demure, while a low angle feels empowering. The rule of thirds, leading lines and framing all guide the eye to you.
Once the basics work, try these boudoir photography ideas:
- Mirrors and reflections, for depth and a second view of you
- Textures such as silk and lace
- Movement, such as tousled hair or flowing fabric
Good to know
Movement takes timing, so expect several attempts.
Editing, privacy and safe storage for your photos
Edit lightly. Adobe Lightroom or Photoshop can fine-tune exposure, contrast and color. Keep retouching to small fixes such as skin smoothing and removing temporary blemishes, and go easy on filters, grain and vignette.
Then review every image and decide which to keep and which, if any, to share. Your comfort sets the rule.
Boudoir self-portraits are personal, so store them on encrypted drives and reliable cloud services.
A small rule
If anyone else appears in a photo, get their clear consent before you share it, and stay discreet.
DIY boudoir photography tips: frequently asked questions
Can you do a boudoir shoot alone at home?
Yes, you can do a boudoir shoot alone at home with a private room, soft light and a stable camera. A tripod holds your framing, and a self-timer or remote shutter lets you pose without rushing. Plan your poses first and take plenty of shots.
What should you wear for a DIY boudoir shoot?
Wear whatever makes you feel confident. Lingerie and robes are common choices, and a personal item such as a partner’s shirt can work just as well. Let your theme guide you, since romantic and soft calls for different pieces than edgy and bold.
What is the best lens for boudoir photography?
A lens between 50mm and 85mm is the best fit for boudoir photography. Those focal lengths give a natural perspective and do not distort your body’s proportions. Your camera need not be top of the line, but learn its functions before you shoot.
How do you keep DIY boudoir photos private?
Store DIY boudoir photos on encrypted drives and reliable cloud services, and decide early which images, if any, you will share. Shoot in a room where no one will walk in. If someone else appears in a photo, get their clear consent before sharing it.