Disclosure: some links in this article are affiliate links. If you buy through them, we may earn a small commission at no extra cost to you.
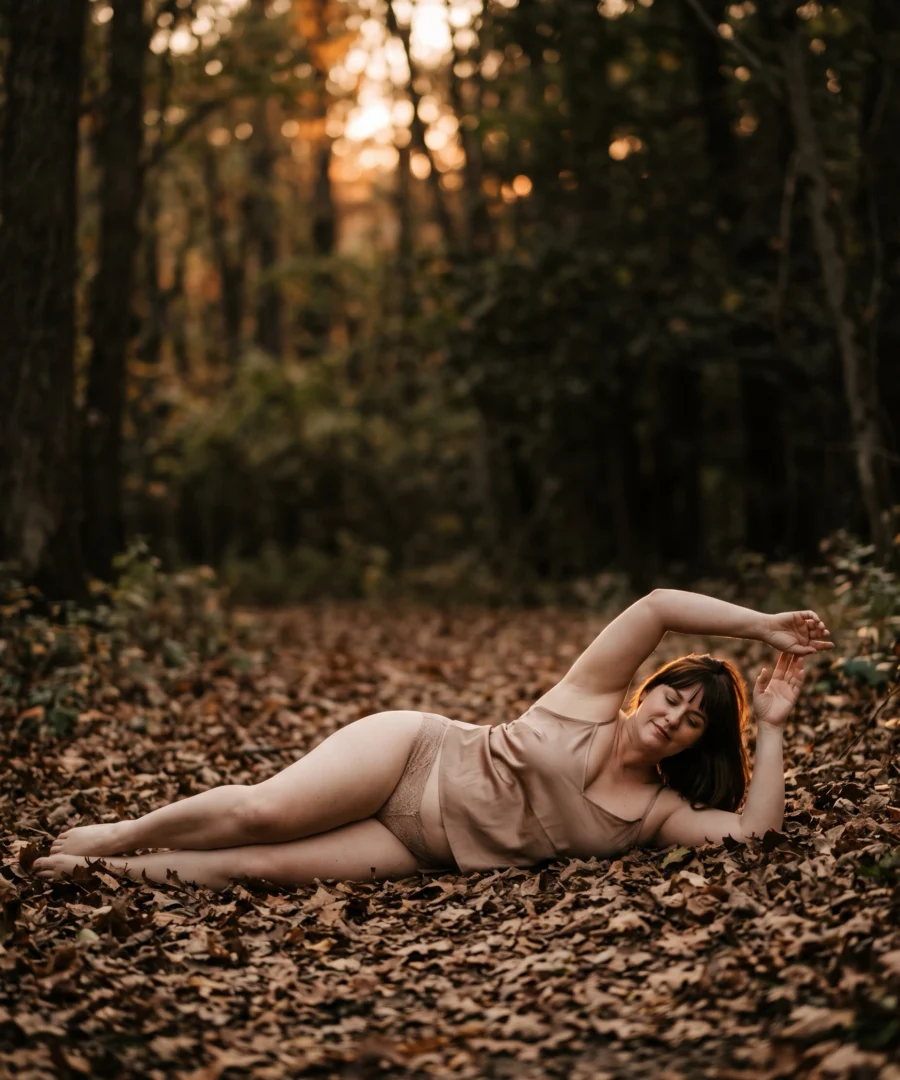
Boudoir lighting techniques start with the mood you and your client agree on: soft, diffused or natural light for a romantic image, hard, direct light for a bolder one. Add backlight or sidelight to show curves, and see our boudoir lighting guide for a second look at the craft.
What is boudoir photography lighting?
Boudoir photography lighting is the deliberate use of light to set the mood of an intimate portrait and show the features a client chooses. Boudoir itself is romantic portrait work, usually made in a bedroom or private dressing room. It centers on the person’s beauty and empowerment, not on nudity.
Your light can draw the eye to chosen features and sculpt the shape of the body. It should never treat a body as a problem to hide.
Every boudoir lighting setup answers three questions, in this order:
- Which mood did you agree on with the client?
- Which light quality and source give you that mood?
- Which direction shows the shape you want?
The boudoir lighting techniques below follow that order.
Soft light vs hard light: which mood do you want?
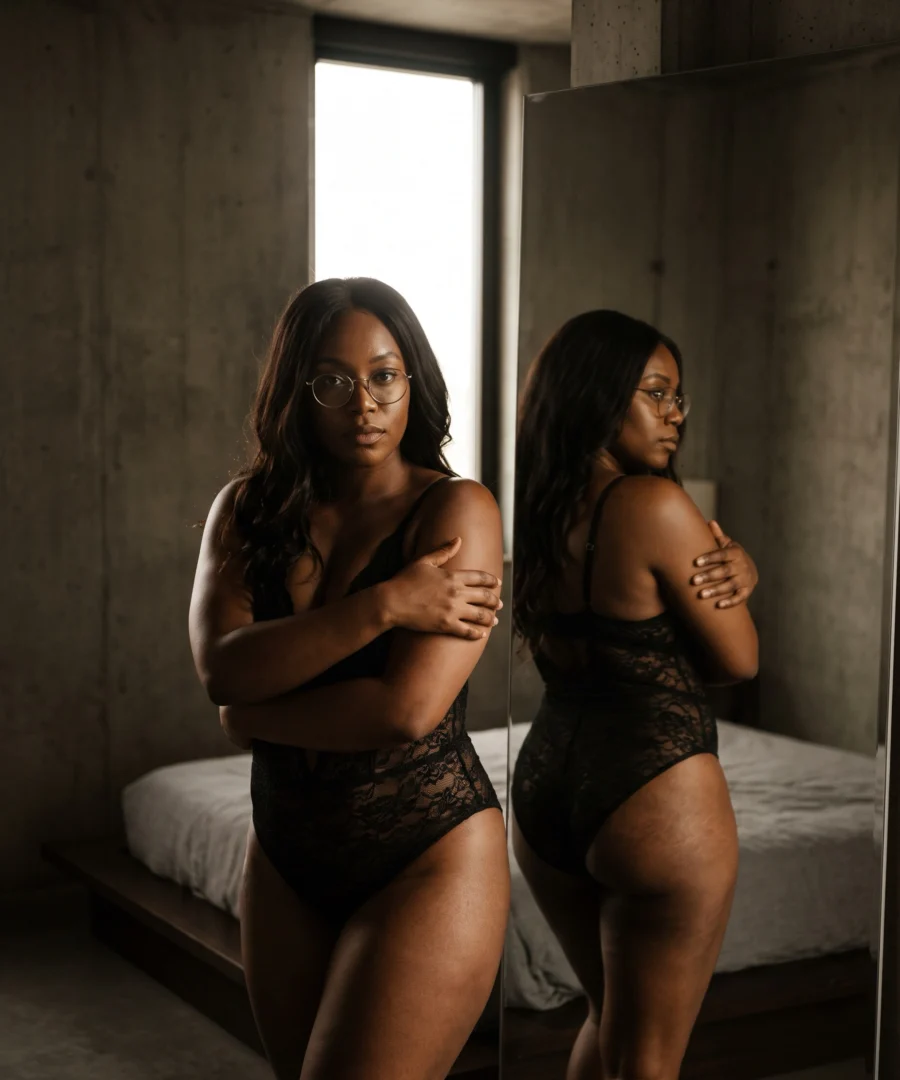
Pick soft light for a romantic, ethereal mood and hard light for a bolder one. Soft, diffused light wraps around the body and leaves gradual shadow edges. Harsh, direct light adds contrast and depth, and its crisp shadows become part of the picture.
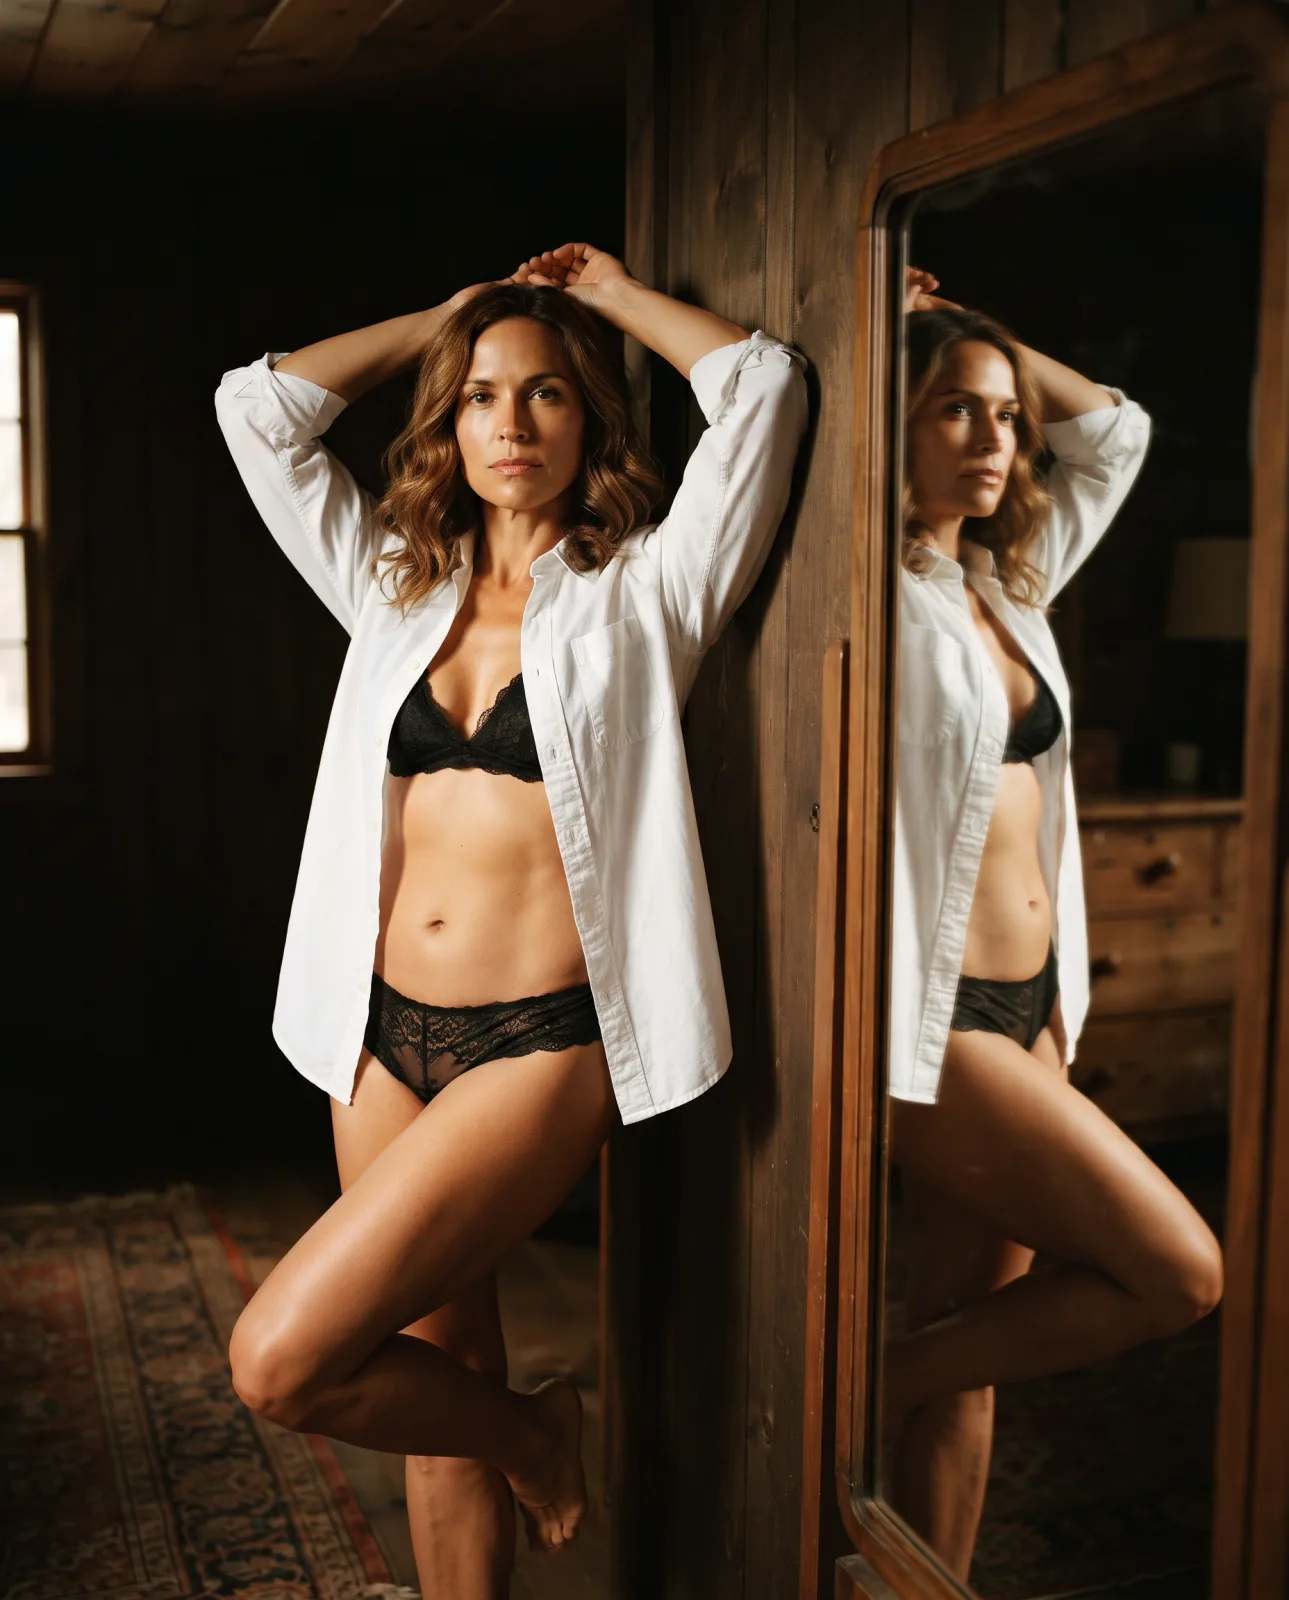
Let the agreed mood decide. If a test frame reads too harsh or too flat for that mood, change the light before you go on.
Use this table as a decision rule for boudoir shoots. Find the agreed mood in the first column, then read across.
| Mood | Light quality | Source | Direction |
|---|---|---|---|
| Romantic or ethereal | Soft, diffused | Natural light | Set by the features the client wants to show |
| Bold or dramatic | Hard, direct | Controlled studio light | Set to build contrast and depth |
| Artistic, led by shape | Chosen to suit the shape | Any source you can place behind or beside the client | Backlight or sidelight |
Natural light or studio lighting: which fits your shoot?
Choose natural light when the brief is soft and romantic, and studio lighting when you need control or drama. Natural light asks you to work with the room and the hour. Studio light lets you decide its shape and contrast yourself.
Natural light boudoir photography
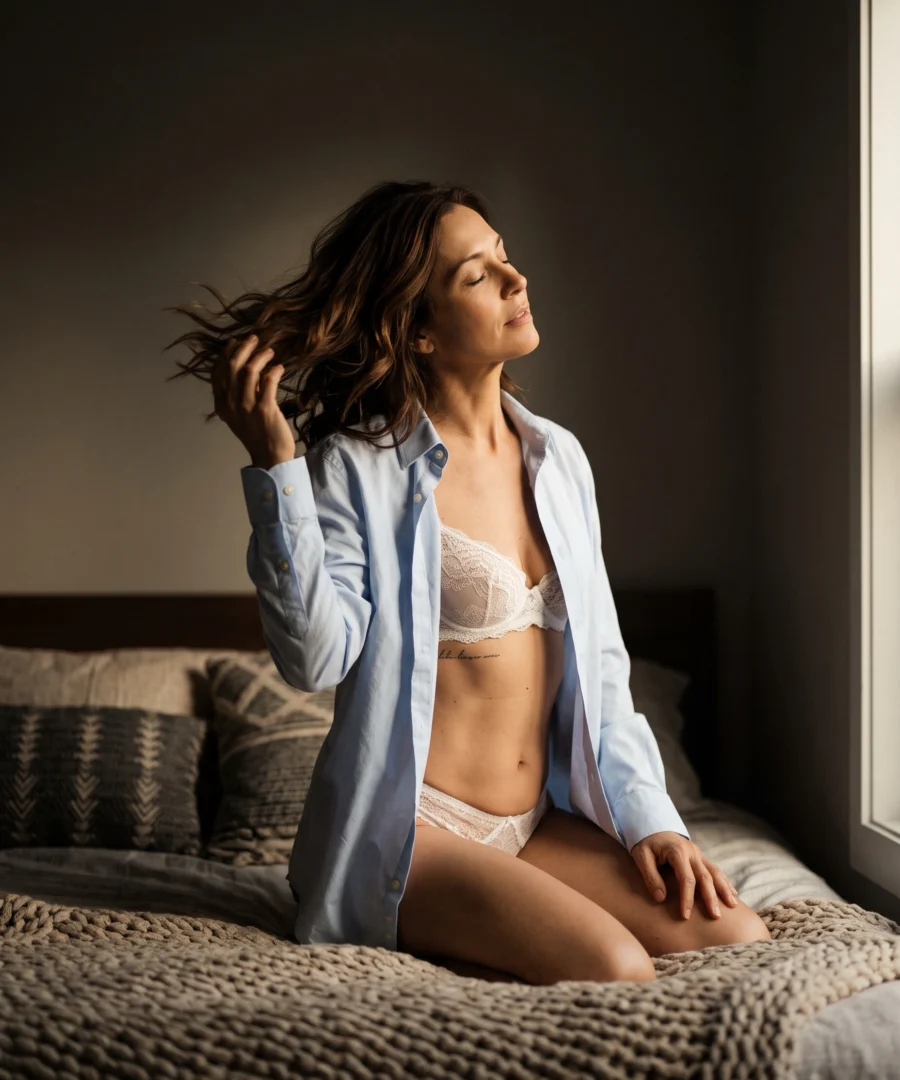
Start at the window. Face your client toward it for even, open light, then turn them partly away to bring more shape to the body.
Walk the room before the session, because daylight changes through the day. The rooms you work in are also worth weighing when choosing a camera for boudoir work.
Studio lighting for boudoir
Studio light suits dramatic, contrast-rich images because you control it. The look holds when the sun moves, so you can repeat it across several sets. When the brief turns softer, add diffusion and keep the rest of the setup in place. On location, a collapsible diffuser is a light, easy way to add that softness.
Tell your client before you move a light close to them, and keep stands clear of where they walk.
A small rule
We recommend changing one thing at a time: the source, its direction or its softness. You will see what each change does to the image.
Backlight and sidelight for curves
Both directions make shape the subject of the frame and give you a more artistic shot. They do it in different ways:
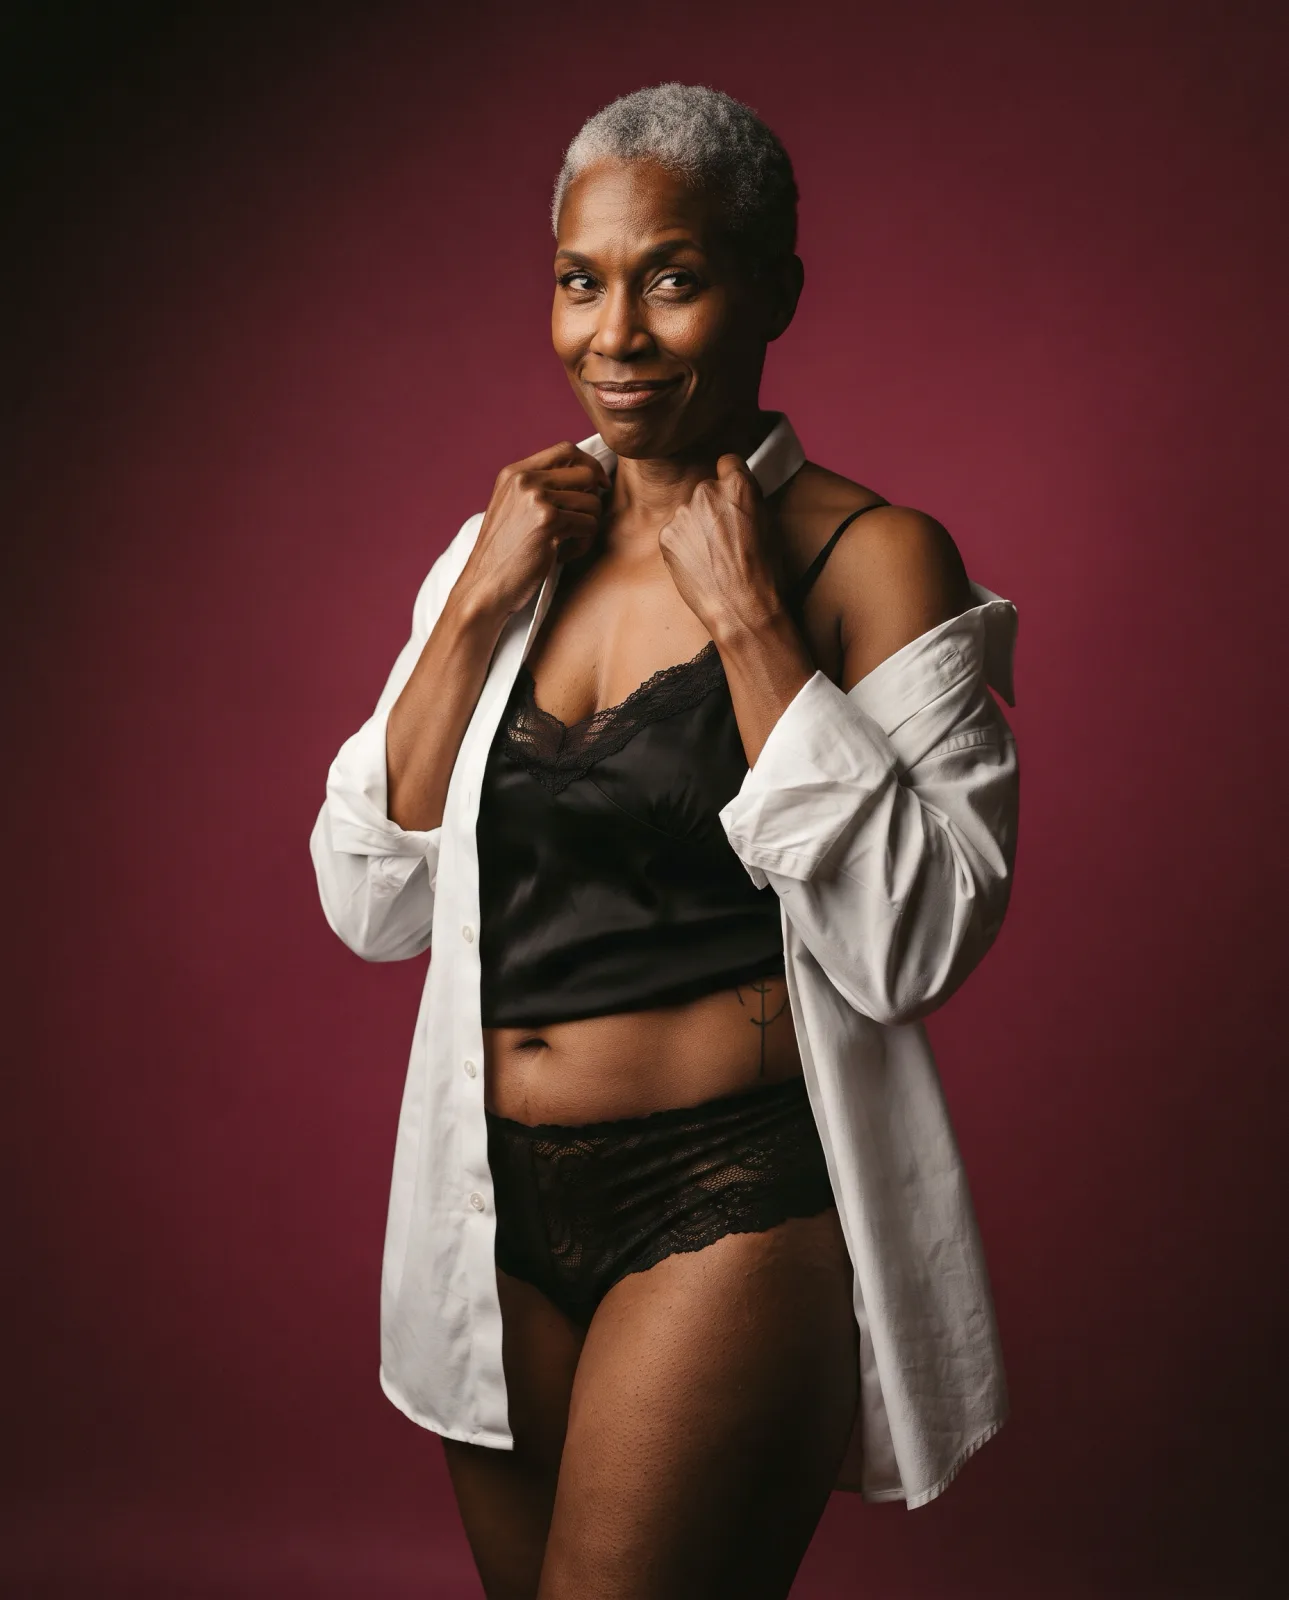
- Sidelight falls across the body from one side. The shadow on the far side reveals form, and a small turn of the client changes how curves read.
- Backlight comes from behind the client and accentuates curves. Check a test frame to see how the shape reads.
Ask what your client wants to show before you place the light. The choice of features belongs to them, at any size or age. Share a test frame early so they can tell you what they like.
Light the features your client chose, not the ones you think need fixing.
How to light lace, satin and bridal sets
Read the outfit before you set the light. Lace, satin and velvet each create a different mood, and mixing textures adds variety to a session.
- Lace: settle the mood it should carry, then read across the table for the light.
- Satin: compare soft and hard light on the fabric, then keep the one that fits the agreed mood.
- Velvet: try it under your planned light in a test frame, then adjust the direction until it suits the agreed mood.
Bridal sets often bring white or soft pastel lingerie, silk robes, a veil and a garter. These pieces sit well with the romantic row of the table. Try backlight through the veil for a soft glow around the head and shoulders.
Good to know
Look closely at white pieces in your test frame. Check your highlights before you move on to the next set.
Planning the light with your client
Set the goals before the session. The mood, tone and emotion you agree on will guide each lighting choice on the day. Cover these points in that talk:
- Mood: name the mood, tone and emotion, then pick the matching row of the table.
- Boundaries: discuss them openly, along with what the client wants to show. Comfort comes first for all body types, sizes and ages.
- Portfolio: show a varied range, since it proves you can adapt. Clients judge lighting and editing together, so keep your light in step with a natural retouching workflow.
- Privacy: explain your sharing and storage policies, store files securely and share nothing without explicit permission.
If a look makes your client uneasy during the shoot, change the light or the pose.
Boudoir lighting techniques: frequently asked questions
How do you light a boudoir shoot?
Start with the mood you agreed on with your client, then choose the source and the direction. Use soft, diffused or natural light for a romantic image and hard, direct light for a bolder one. Add backlight or sidelight when you want shape to lead. Check a test frame with your client before you go on.
Is natural light or studio light better for boudoir photography?
Neither is better in every case, because the right pick depends on the mood. Natural light gives a soft, romantic feel and asks you to work with the room. Studio light gives you more control and suits dramatic, contrast-rich images. If your client wants both moods, plan a separate set for each one.
Which lighting shows curves best?
Backlight and sidelight show curves best, because both make shape easier to read. Sidelight creates shadow across the body, which reveals form. Backlight comes from behind the client and accentuates curves. Talk with your client first about the features they want to show, because that choice belongs to them and should guide where you place the light.
Can hard light work for every body type?
Yes, hard light can work for any body type, size or age when the client likes a bold look. It adds contrast and depth, so shadows become a strong part of the image. Share a test frame early and ask how it feels. If your client prefers something gentler, diffuse the light and shoot again.